The Cleaning Piece - Final


Project's Description

My final project for this class, Lighting and Interactivity is a collaboration work with two other ITPers; Tiri and Sebastian which they also did as part of their final project for the class, “Sense Me, Move Me”.

Concept

The idea originated from my group mates; Tiri and Sebastian and what they studied in Sense Me, Move Me class. Everyday in Sense Me, Move Me class, they have to fold tables, chairs, move all the furnitures out of the classroom, room 50 and put them back as it was at the end of the class. This project, "The Cleaning Piece" stemmed from these activities that they do regularly and that I see them do everyday on Monday like clockwork for the whole semester. The act of cleaning and reorganizing.

gyphy_3.gif
 

Performance Schedule

Because we worked in team, having this schedule cue sheet with us during the meeting, rehearsal, and show was extremely useful. Especially, we are a team of engineer, architect, artist: there were a lot of miscommunications.

This project was created within 10 days, so we need to solidify our concepts break individual scene into what’s happening at the beginning, during and at the end of each scene and everything that’s happening in between.

Movement - Chereography

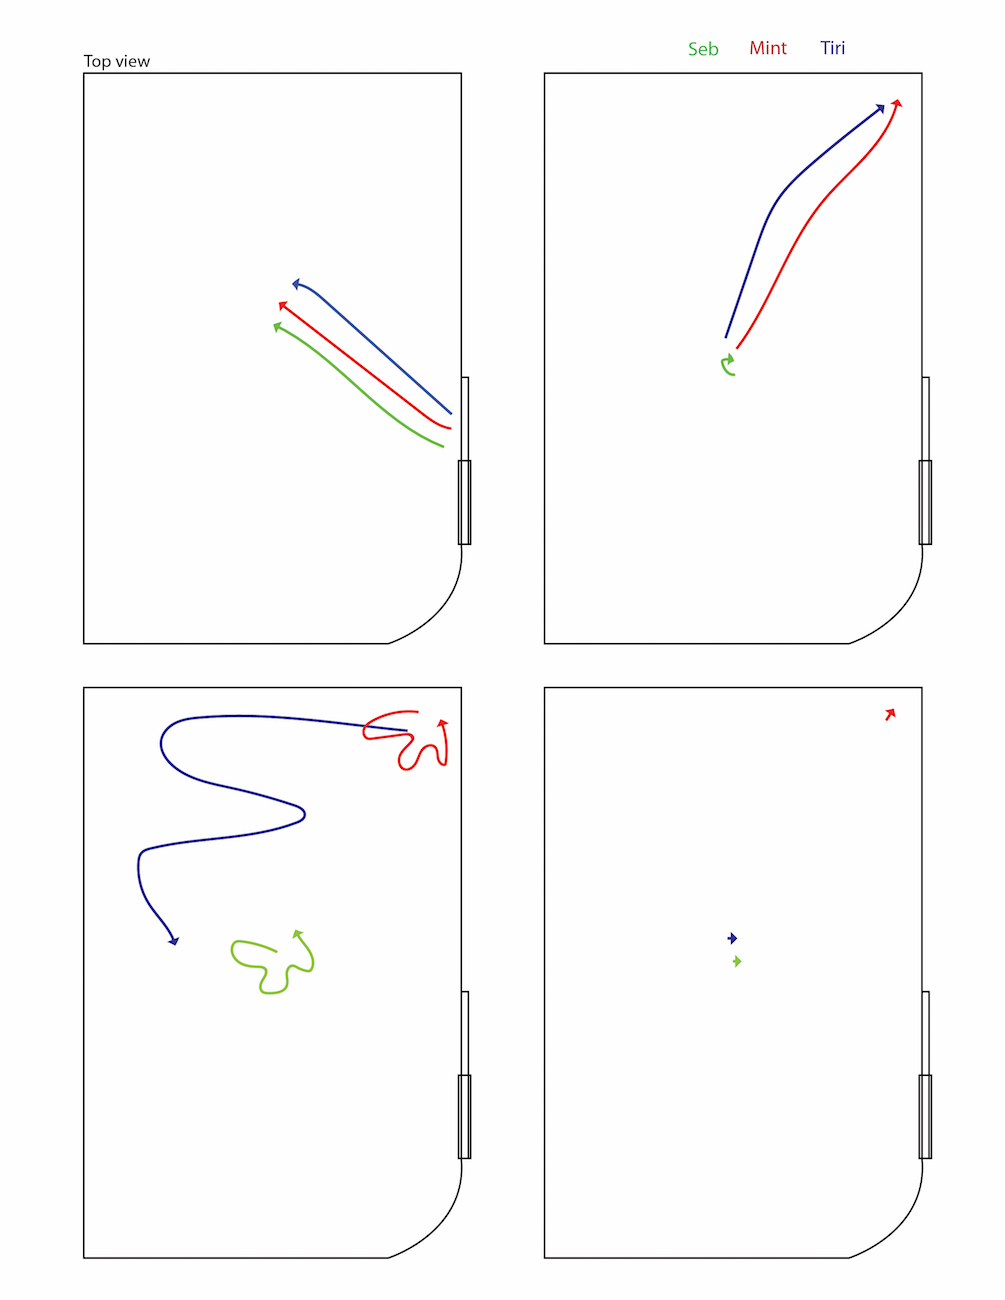
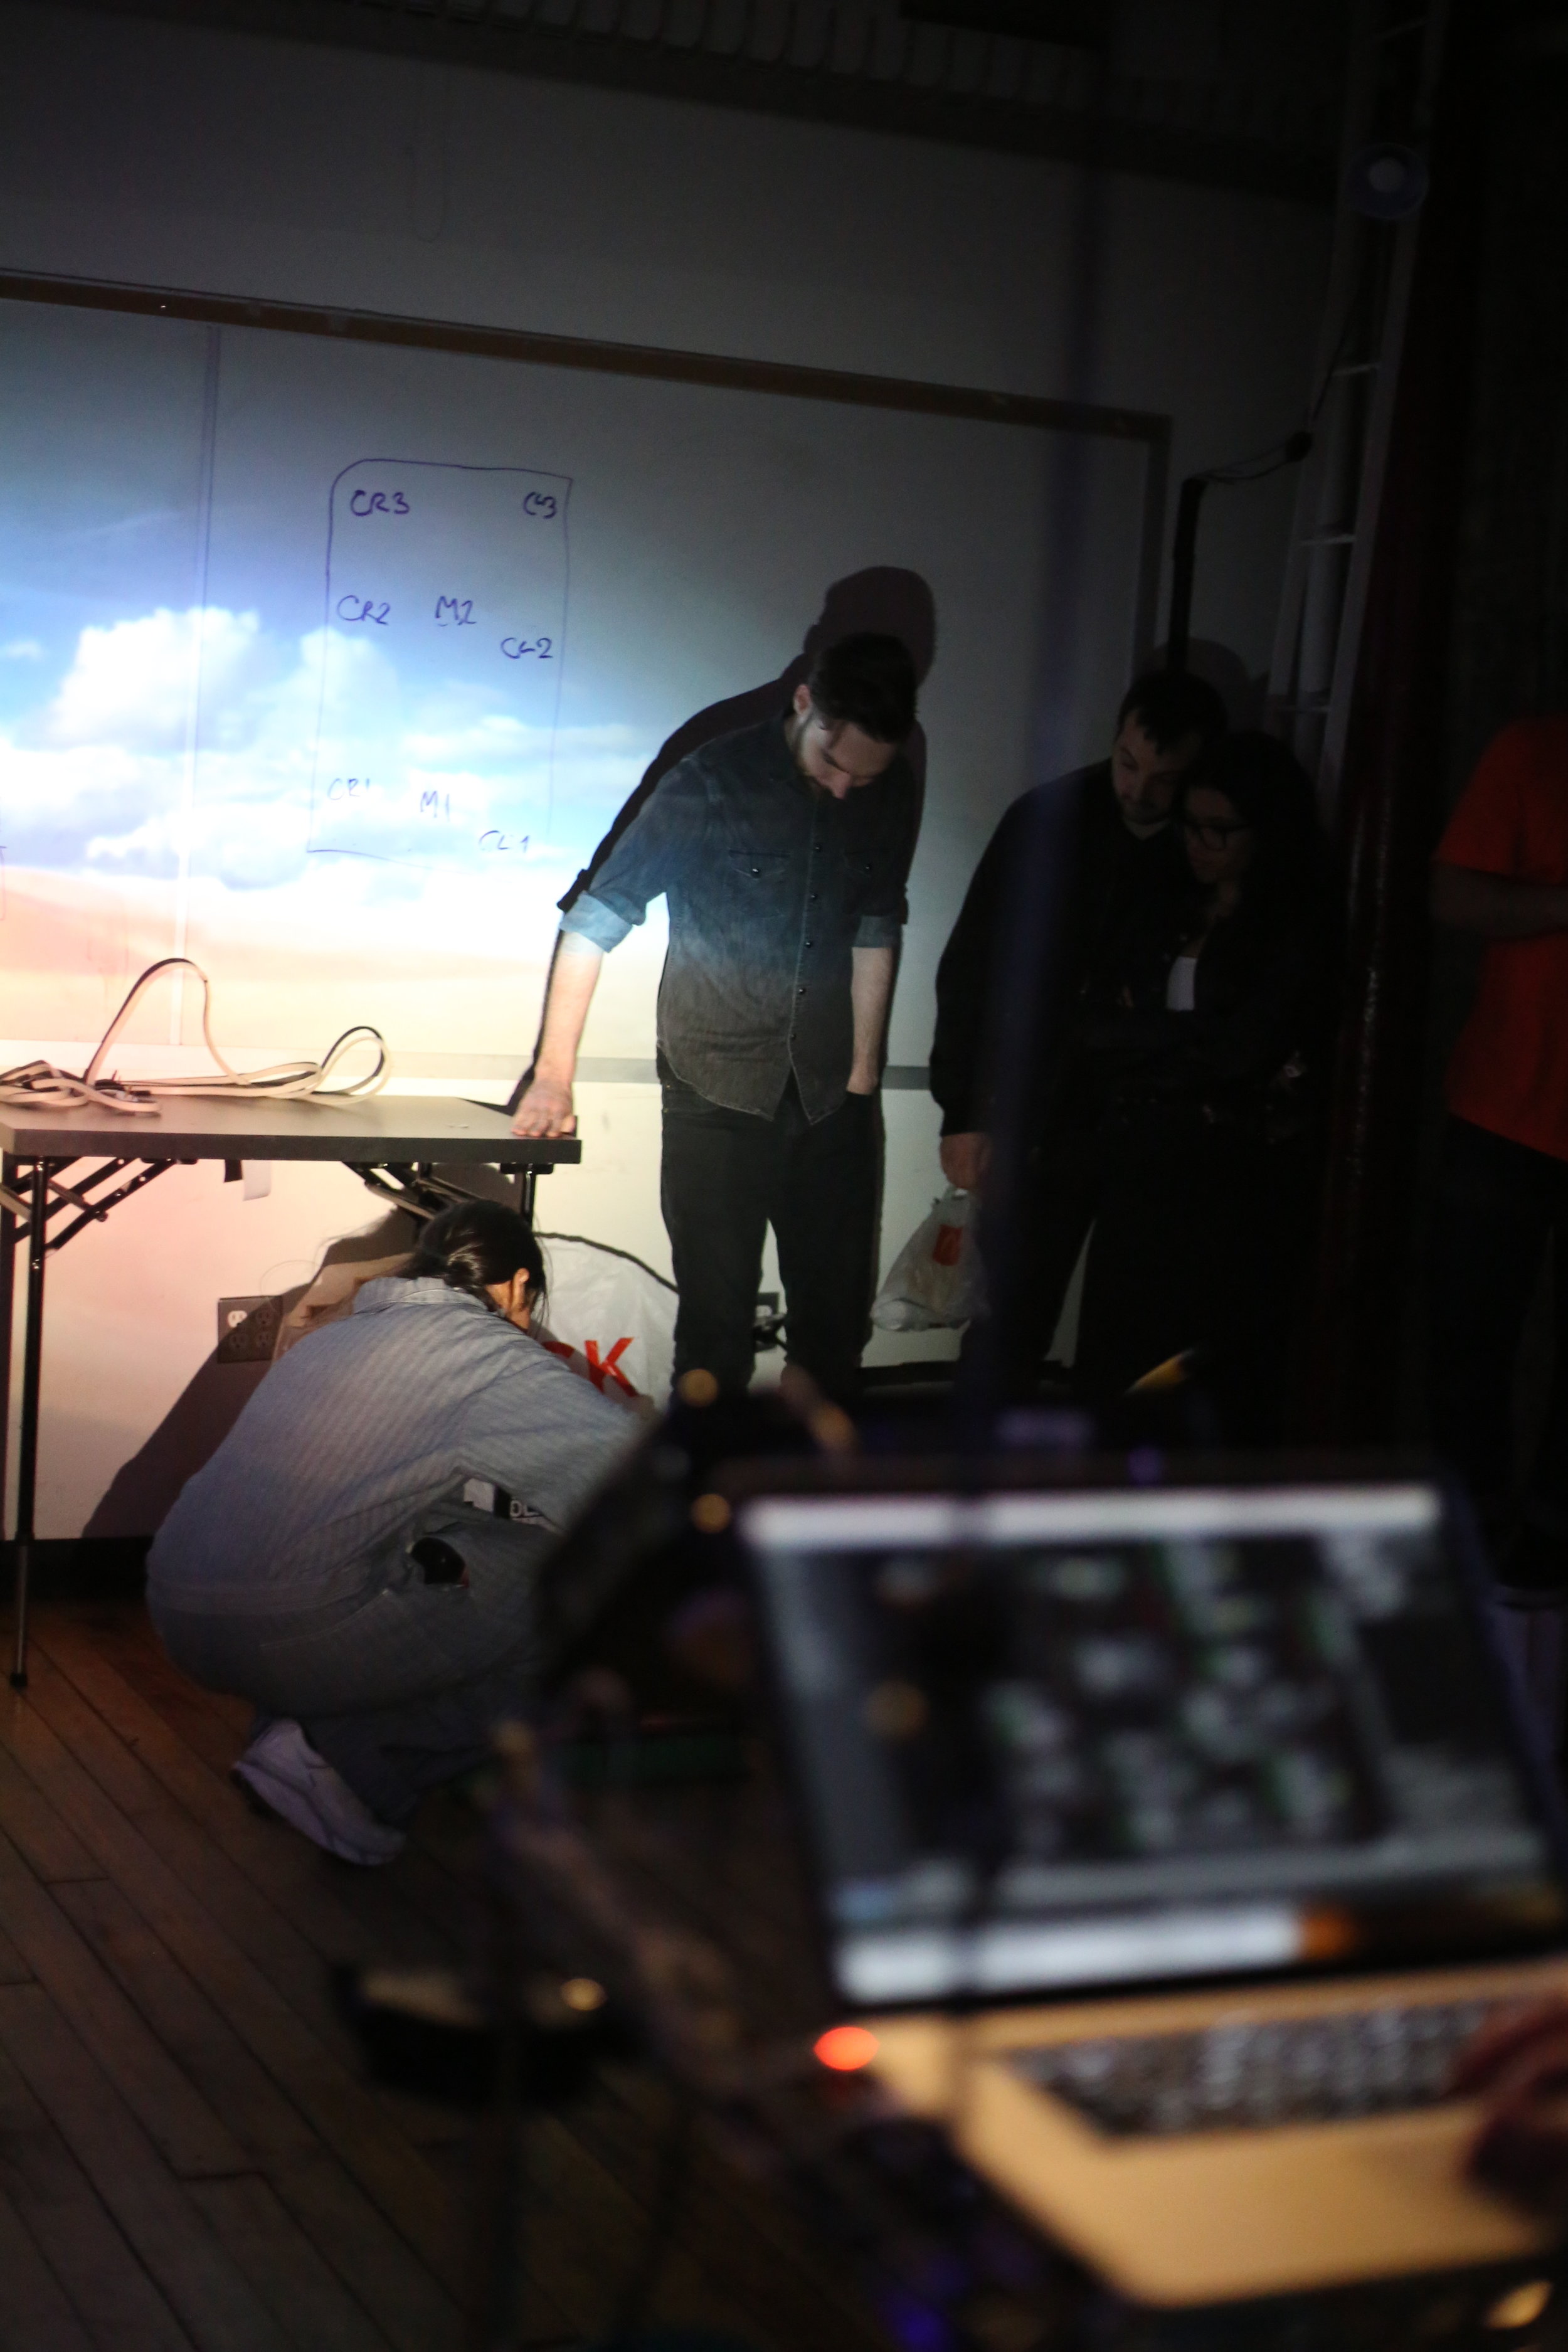
  • I wanted to show you this diagram because we planned and pre determined how and where Tiri, the performer will move and maneuver through the physical space.
  • Once we had the movements of sweeping figured out, designing and programming the lights kind of fall into place automatically.

Three Scenes

We have THREE main scenes in our performance and each scene we utilized different things that we learned throughout the semester and implement them into our performance. These design elements are distributed throughout the three scenes of the show.

  1. Opening Scene :: where we help the rest of the classmates clean up the entire room which this isa key act for us because it relates back to the show’s concept
  2. Sweeping | Cleaning in Reality :: clean room 50
  3. Sweeping | Cleaning in Virtual World :: we are ITPs, we code and debug everyday


Scene 01 :: Opening scene

Description ::  we help the rest of the classmates clean up the entire room which this isa key act for us because it relates back to the show’s concept.


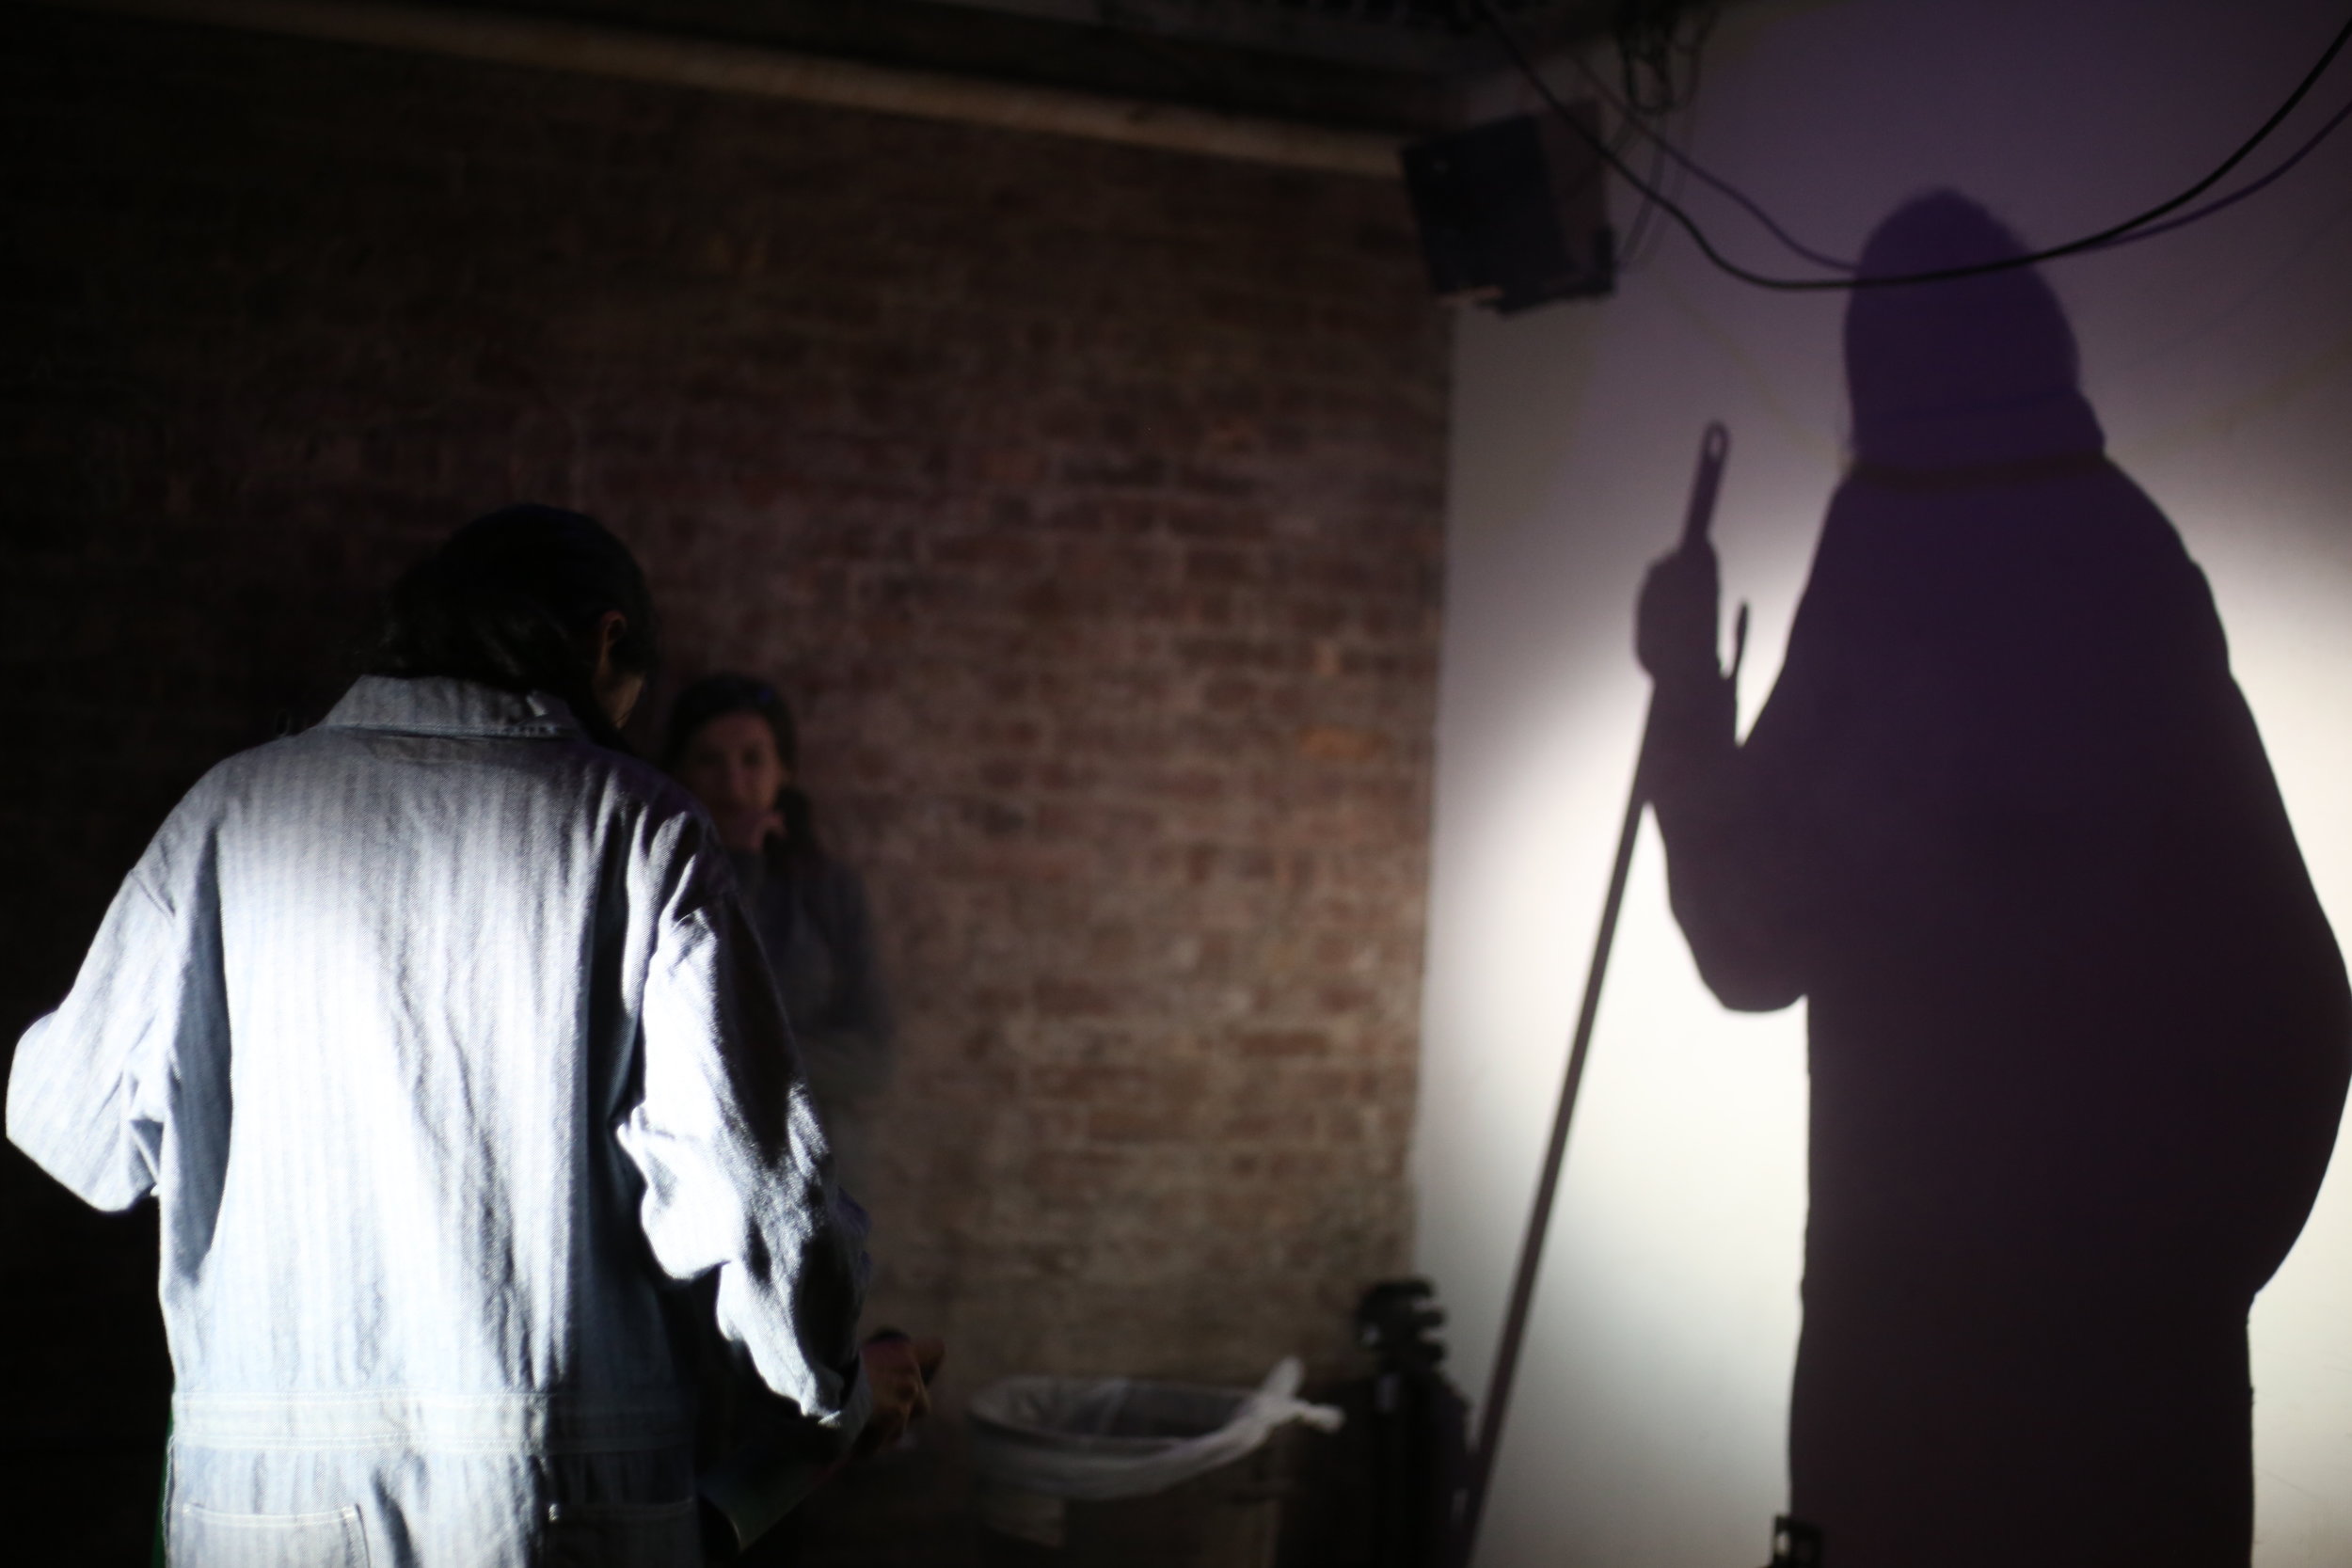
Scene 02 :: Cleaning in reality

Scene 02 :: Concept :: Color

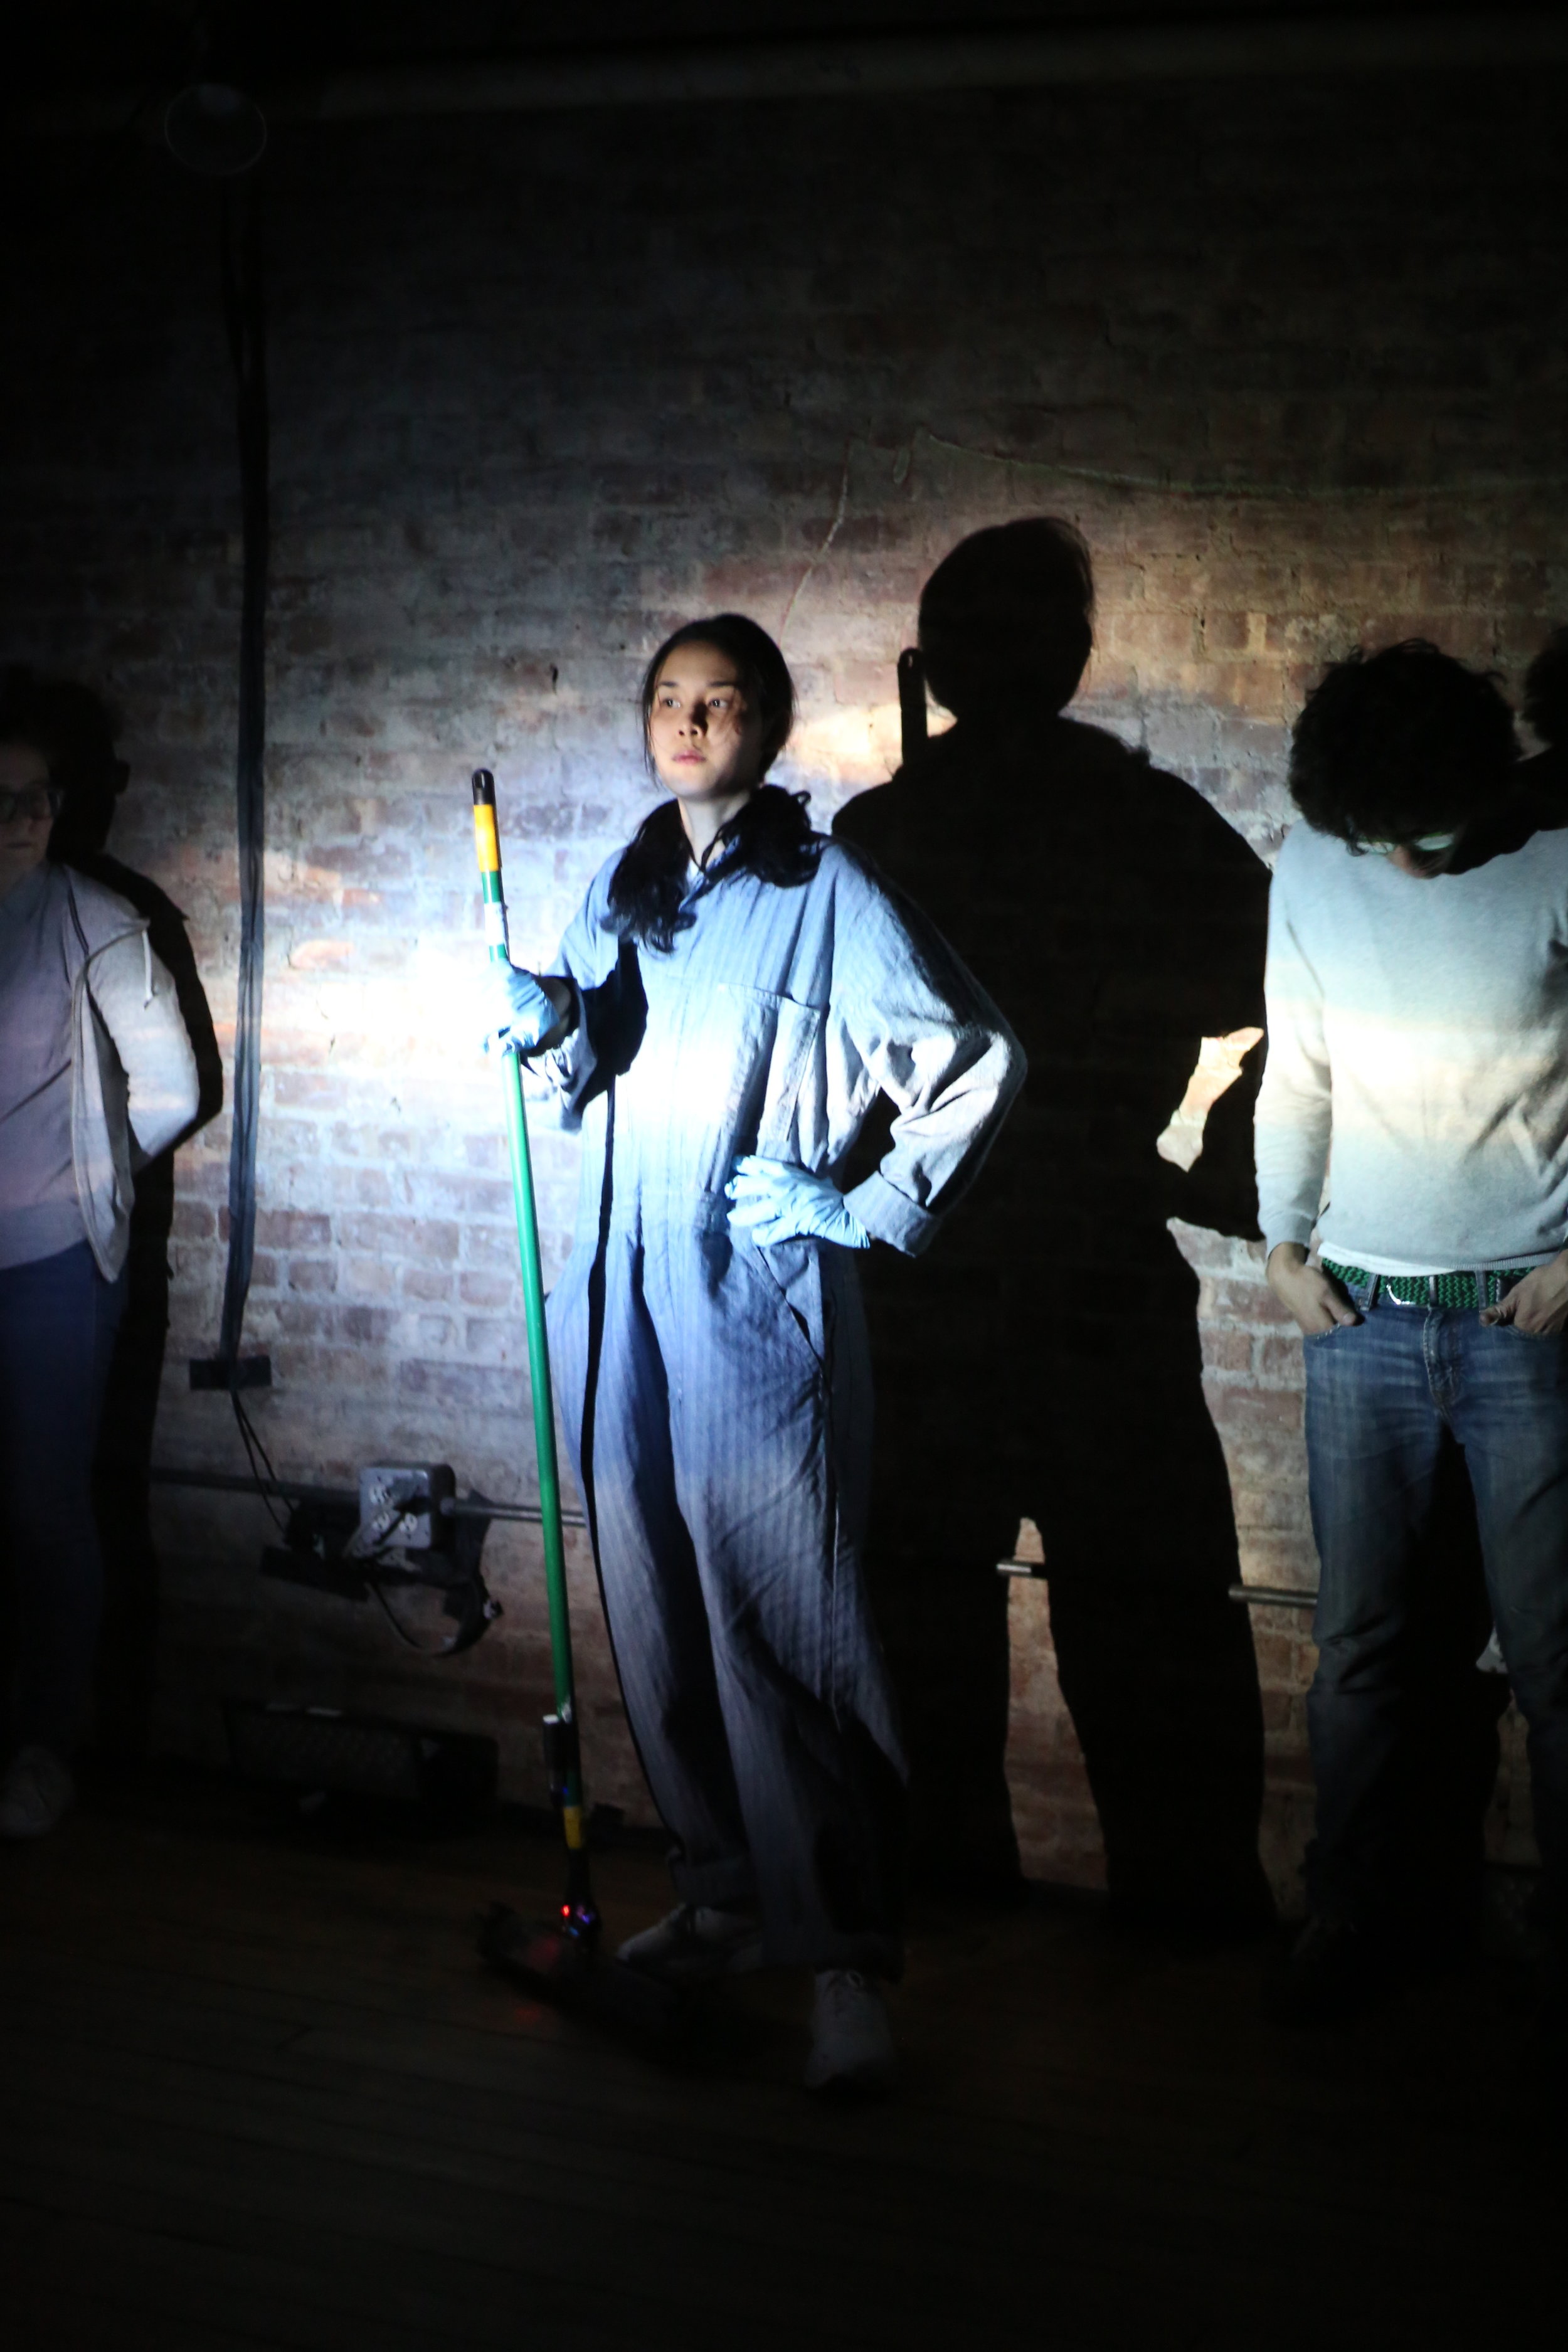
We  agreed on the color shades of purple and violet because we feel that purple possess strong feelings of wonder, mystical, and magical sensations so we tried to immerse the room with this color

We wanted to create the mood and tone that the act of cleaning can be magical and wonderful although its such a mundane thing that we do everyday.

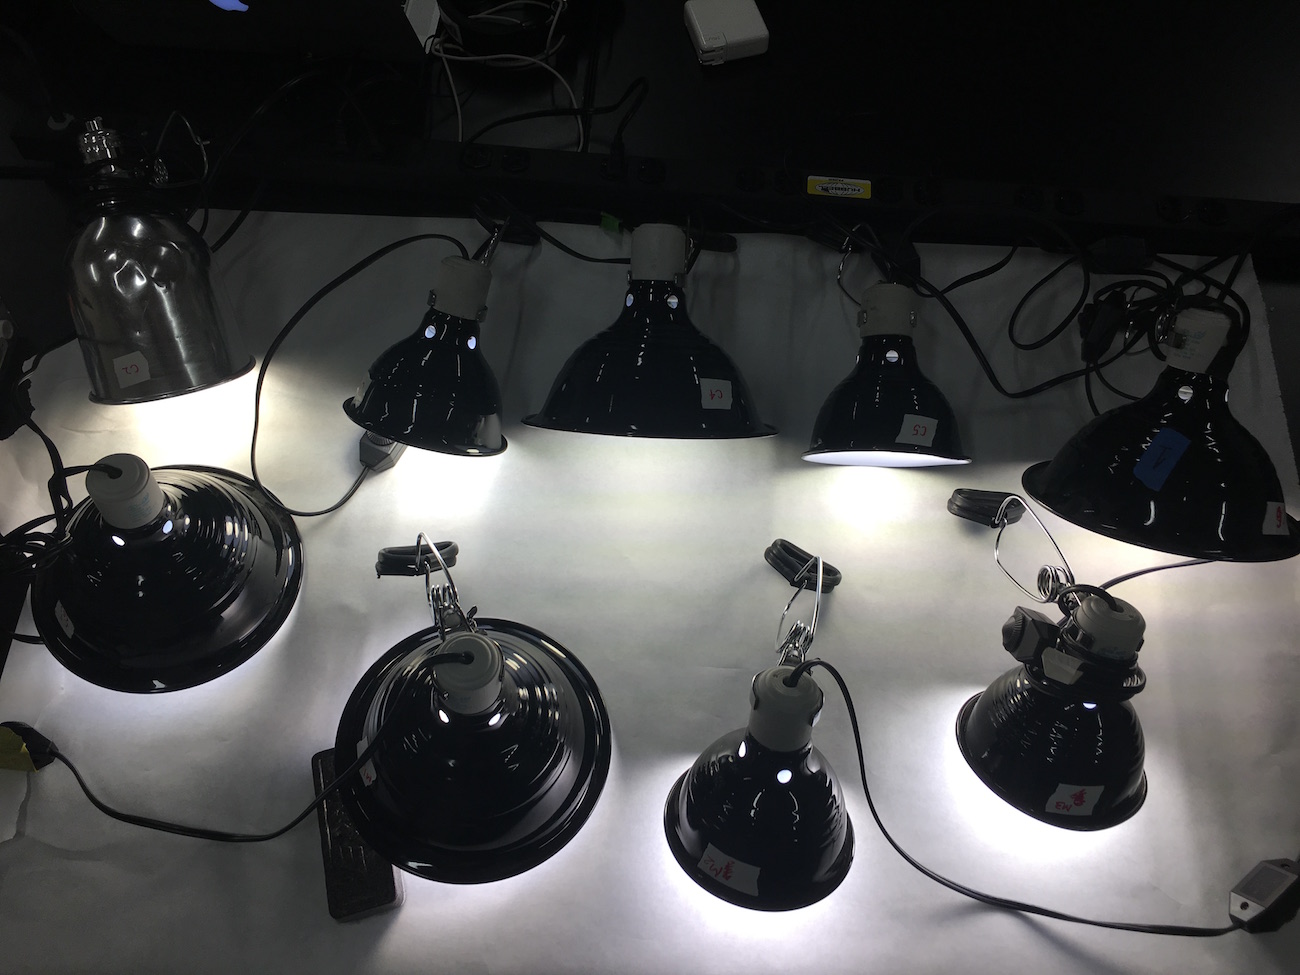
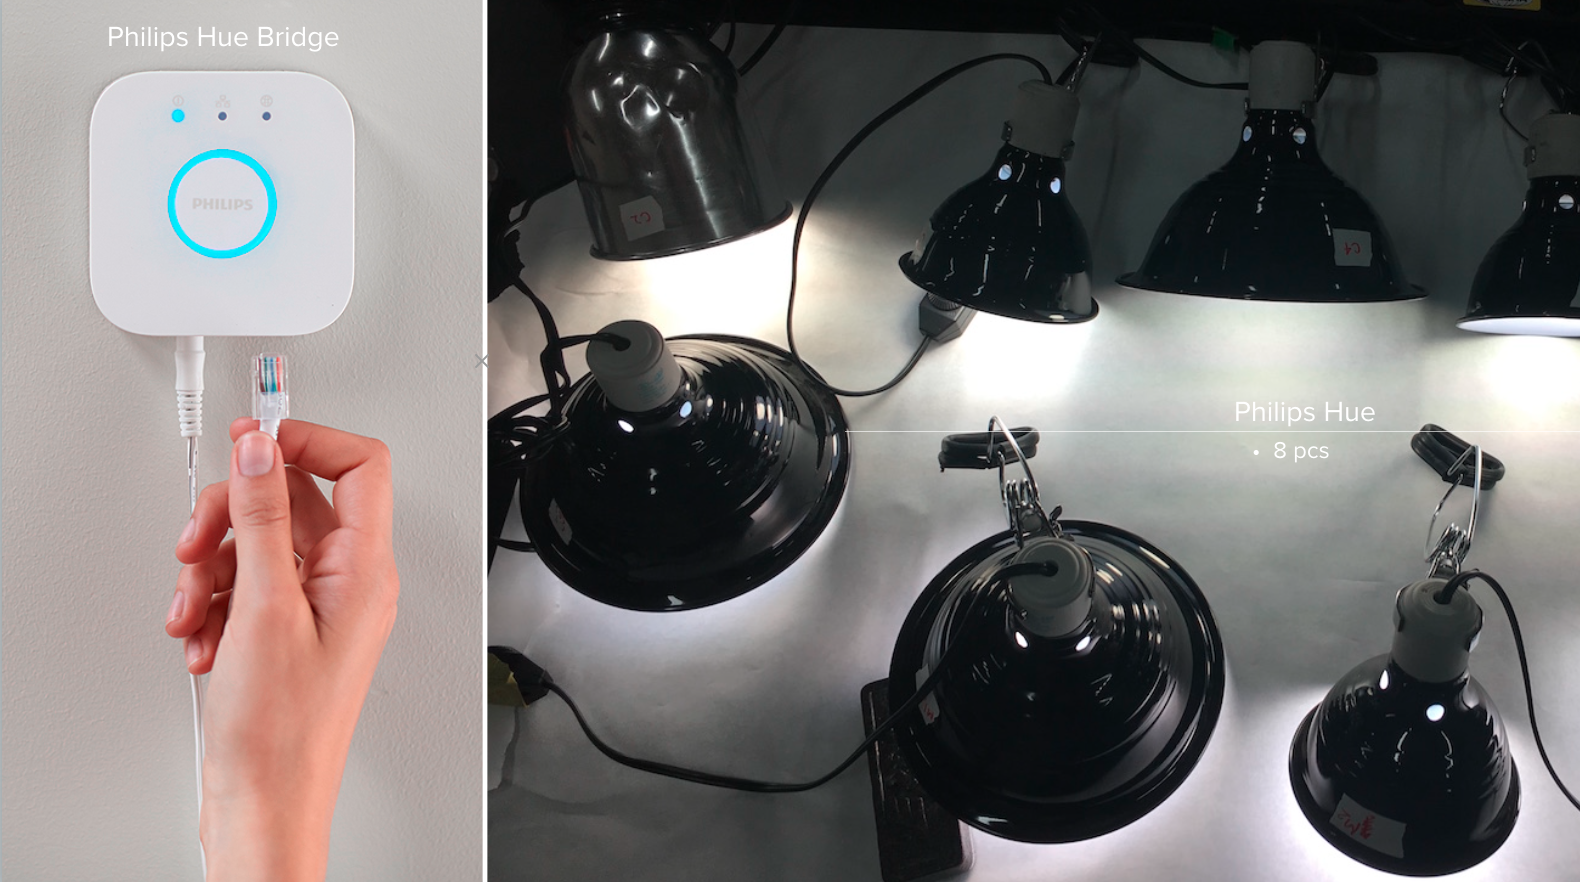
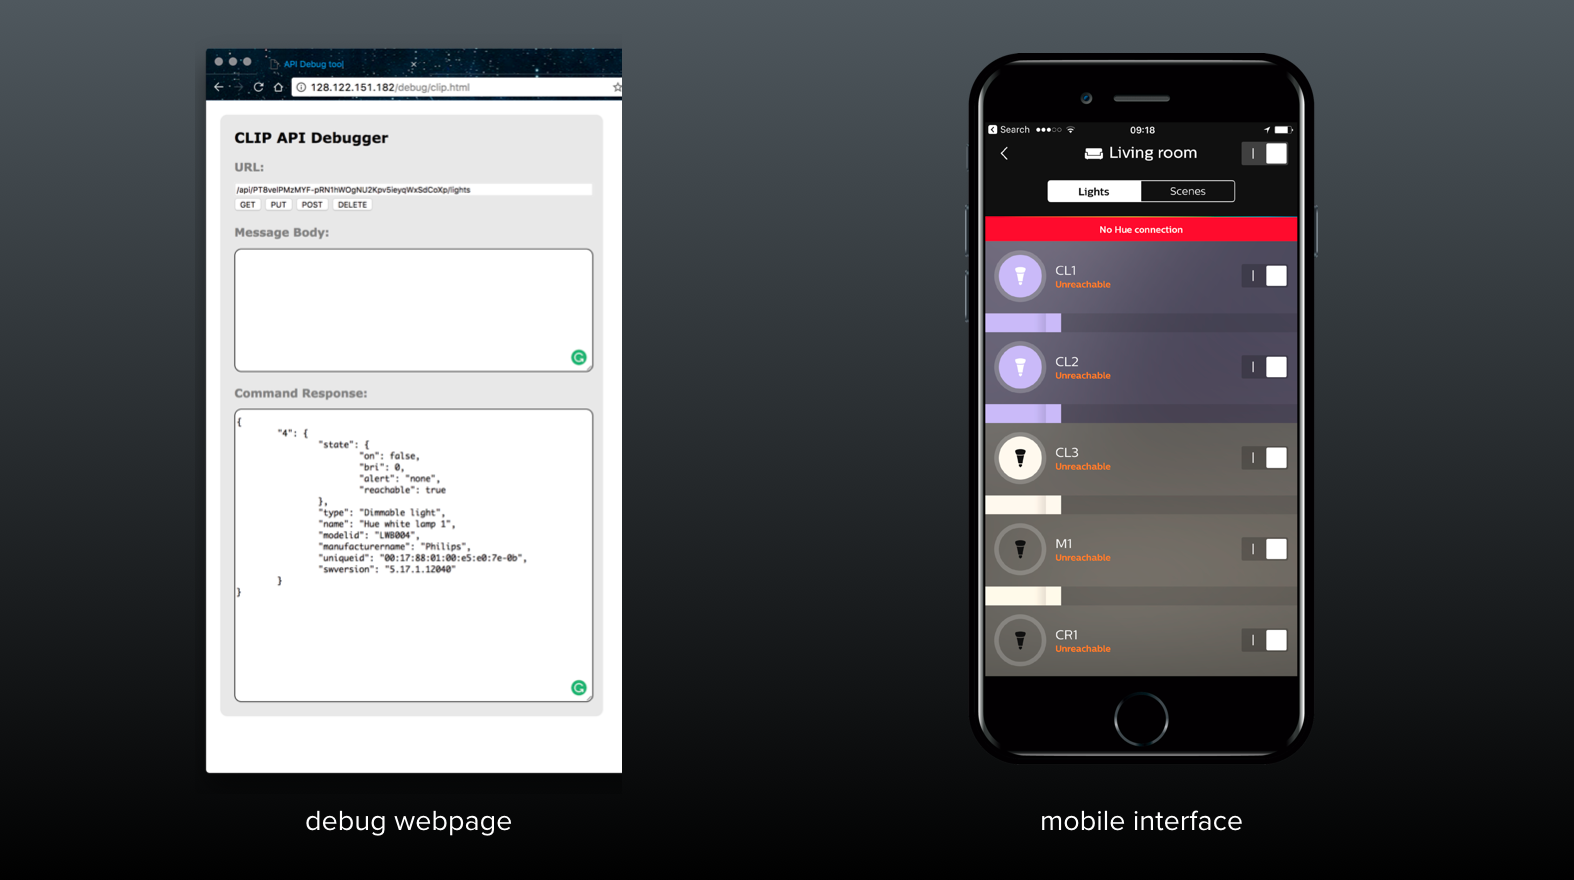
Scene 02 :: Light source 01 :: Philip Hue Lights :: Clip Lights

I was really glad that you introduced Philips Hue lights as part of this class’s coursework. I love its ambience quality they created. I turned the Philips Hue on at about 30% brightness with ranges of amber white and pale purple to light up Tiri's face.

  • Control - They are simple to use either through node or mobile app. I ended up using the readymade app.
  • Installation - Clip lights are easy to install. They enables me to simply climb up the ladder and clip these light on the ceilings and we are set to go!
  • Amount -  I used 8 of them, divided equally in grids 2 columns, 3 rows.
  • Register all the hue bulb into one bridge - I hoped I didn't deleted anyone's registration during this stage. The bridge requires ethernet connection to control them remotely.
  • The Philip's hue mobile interface was super simple to use and I can simply download this app through iTunes studio and its free! However, what I think I found it's main flaw which is if the bulb has been assigned into a room setup, this specific bulb cannot be assigned to another room. This means I cannot have different color and brightness applied in other scenes. However, in this quick and dirty project, “the cleaning piece”, where we only have 3 main scenes, this readymade interface is enough to quickly get me setup for the show because by the time we started to form our ideas, we had less than a week to execute the project. I want to play with the philips hue further in the next project using node and server to have better control, since now I am quite familiar with its possibilities and limitations.


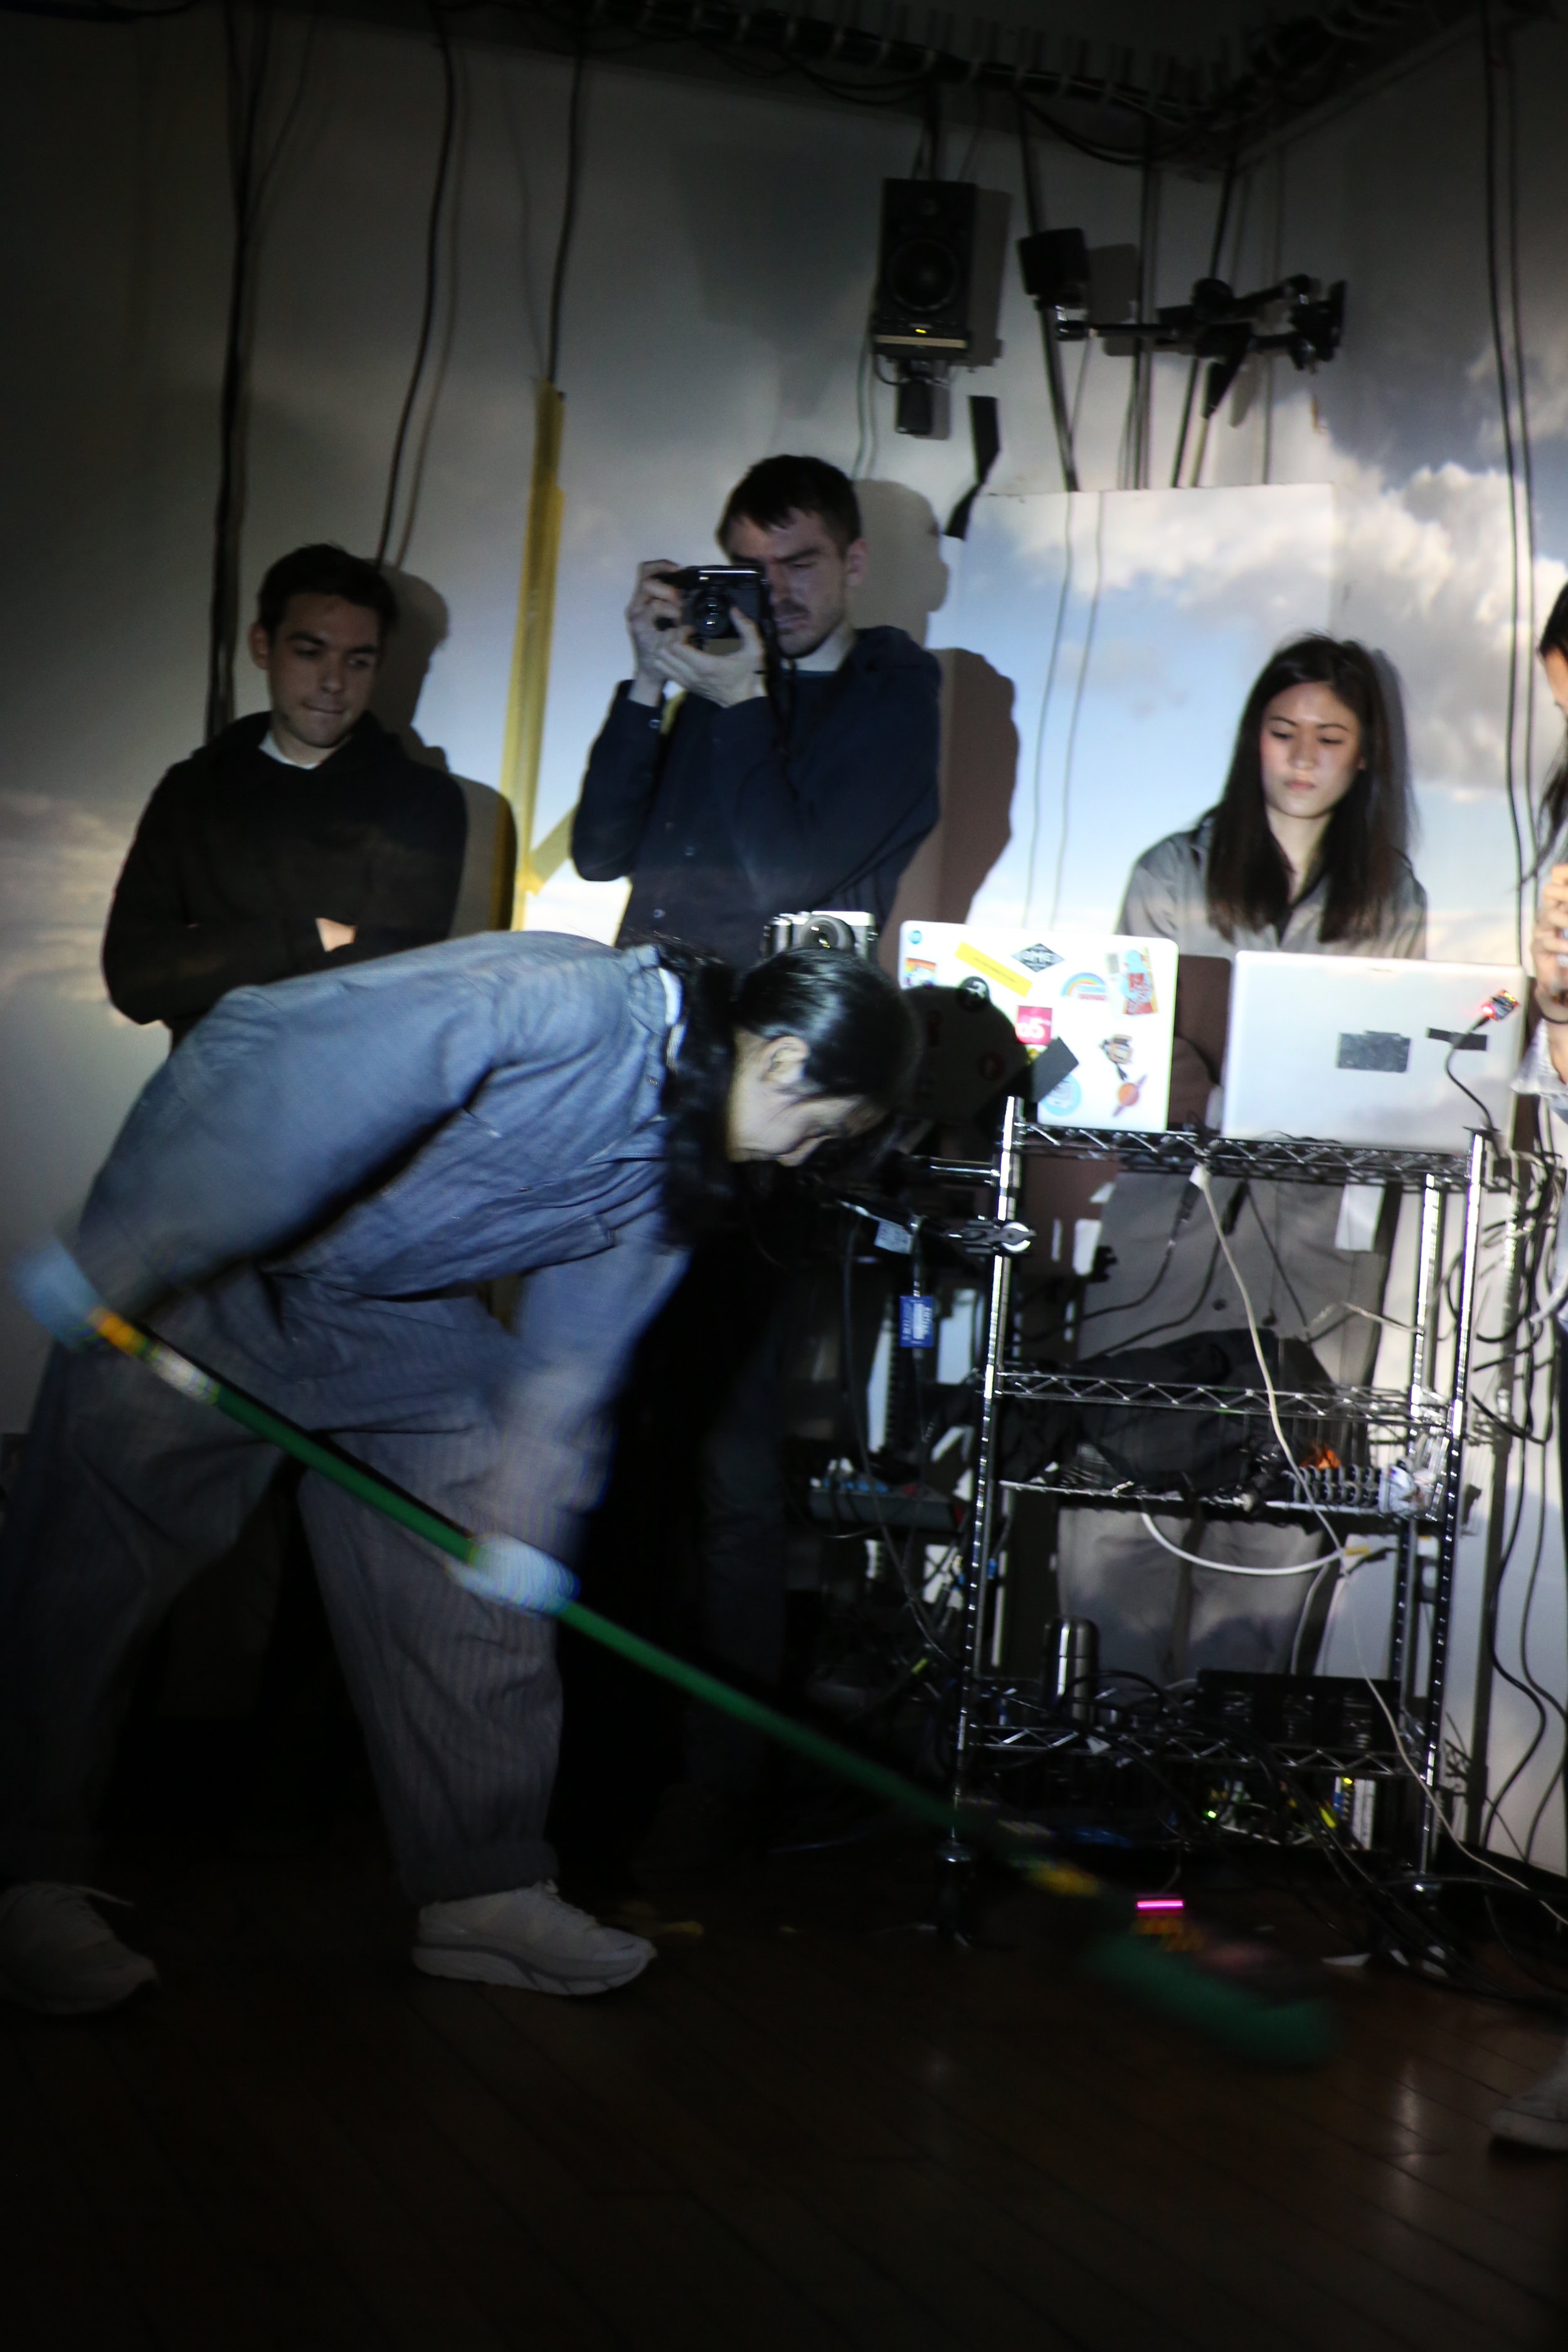
Scene 02 :: Light source #02 :: ColorBlast 12

The secondary light source we used is theatre lights, also from Philips. ColorBlast 12 is usually used in theatre stage lighting. They are placed on the ground evenly in grid system, divided in 2 column and 2 rows along the edge of the room. I used 6 of them.

The ColorBlast 12 control's Tiris movement throughout the room. Tiri will not start or continue to sweep, until she see the light is gradually turned on. The prior light will slowly turned off with 10s fade-out time interval. This choreography started off perfect but I believed when she was out of my field of vision, when she moved to the end of the room, I couldn't see her anymore, there were times that this did not work out.


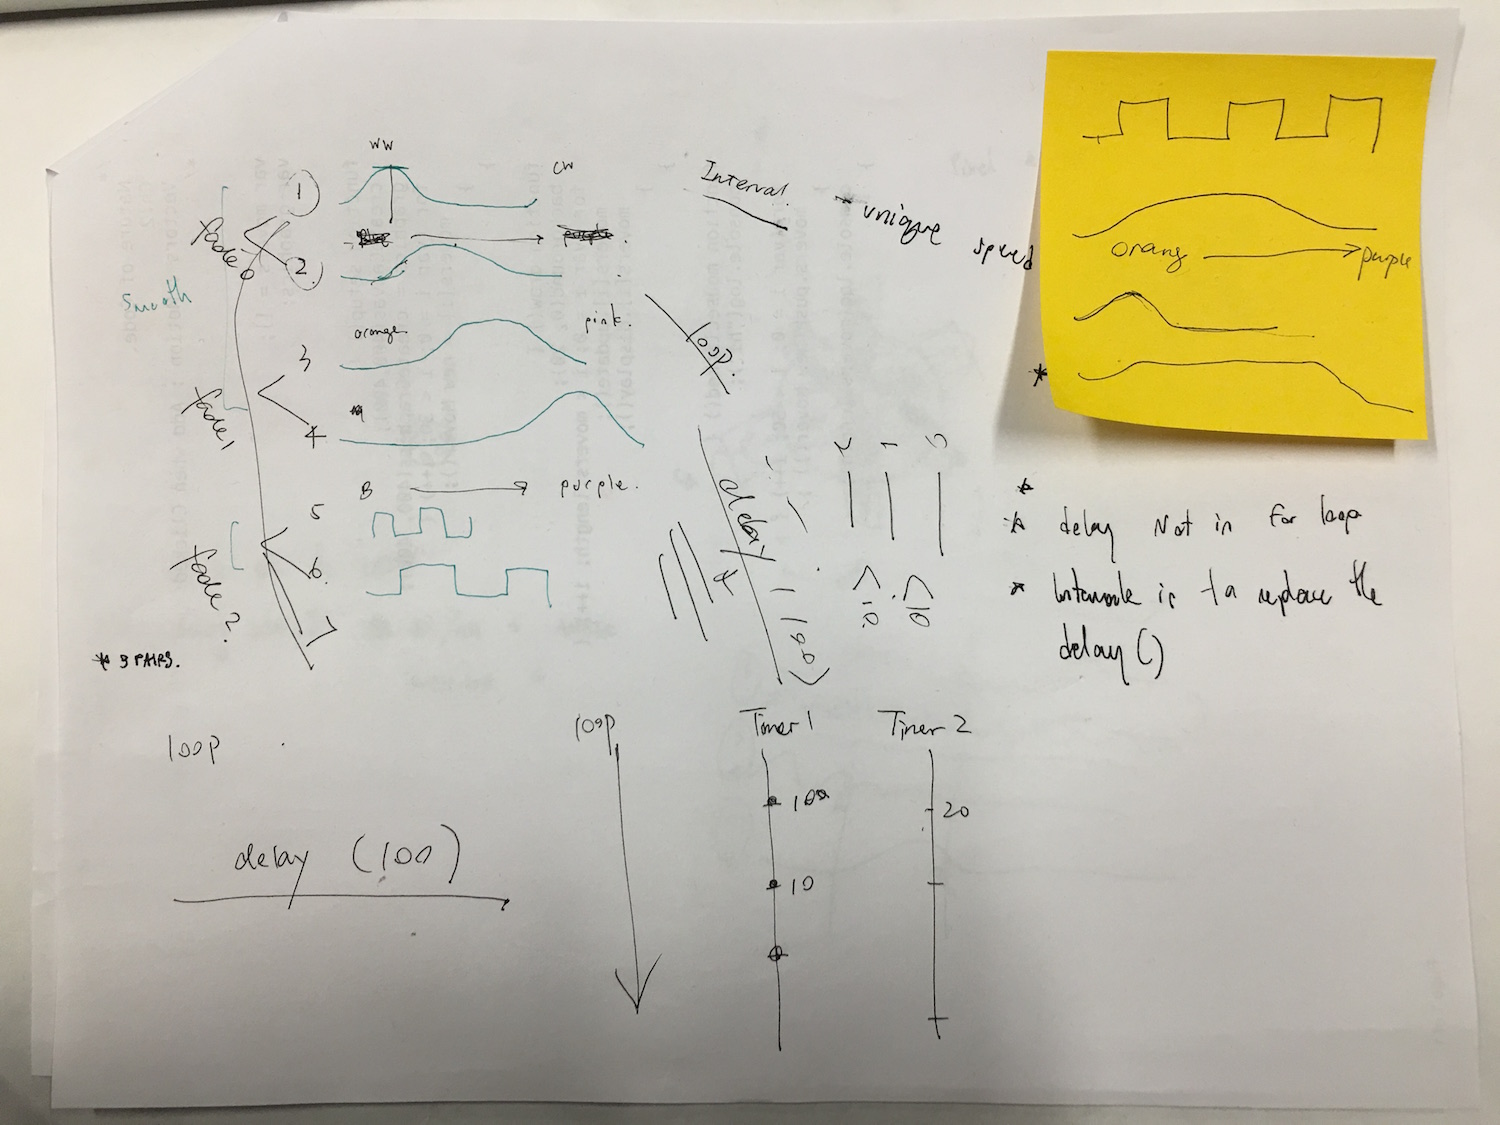
Scene 02 :: Choreographed Light and Movement [snippet]


Scene 02 :: Light source #02 :: Colorblast 12 Simulation

Fade In-Out time = 10 sec


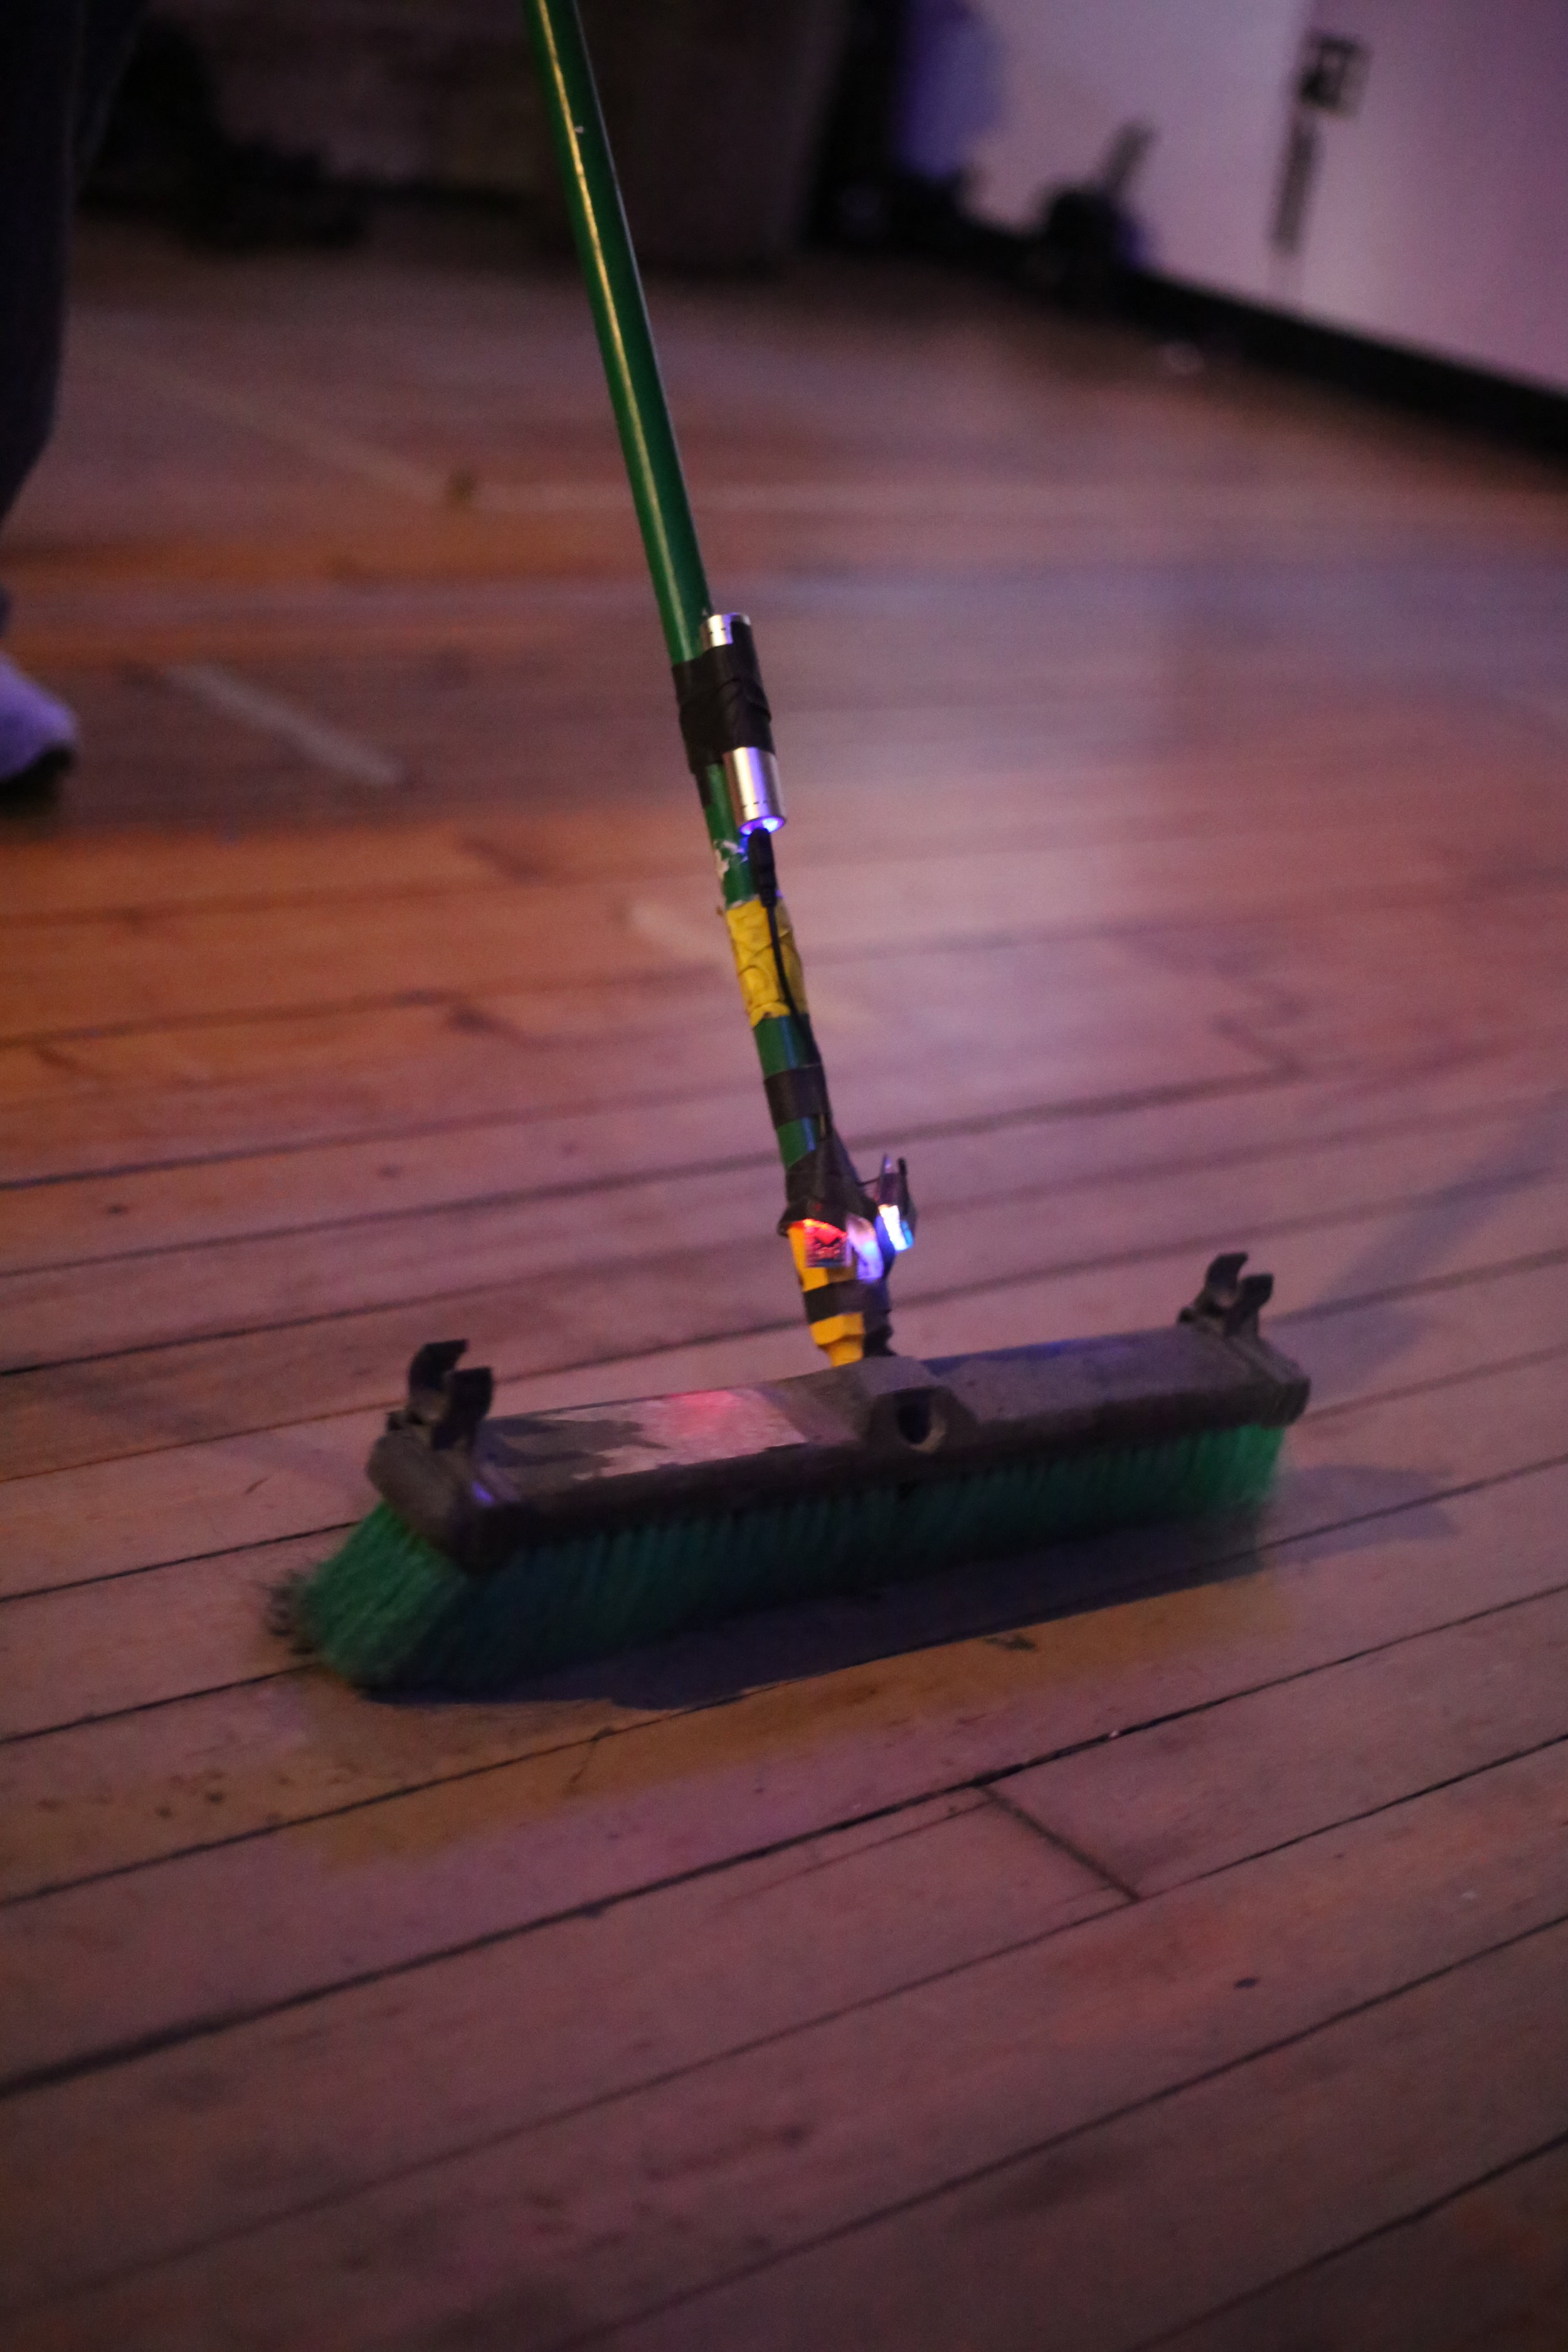
Scene 02 :: The Magic Broom + Delayed Noise

Time Factor - There were moments during the performance when we wanted to amplify the dystopian mood of the performance that was not only done through lighting. We implemented this idea into the Magic Broom.

The Magic Broom has an accelerometer sensor attached to arduino talking via bluefruit and then talking to the Max Patch. We need the x, y, z data of the sweeping movement which triggers sound that was made in Max. We set up 4 speaker at each corner of the room and what made the broom magical is that each speaker was about 25% delayed from each other. and what we get was we get sweeping noise that travels within the room in circle.

The delayed feature fit perfectly when she paused during the fadein-out of the ColorBalast 12 or when she paused to rest. Because, if she wasn't moving, there should be no sweeping sound but in our performance there is and the seeping loudness moved across the speaker/room like the wind.

Scene 02 :: Max Patch Scene 02


Scene 03

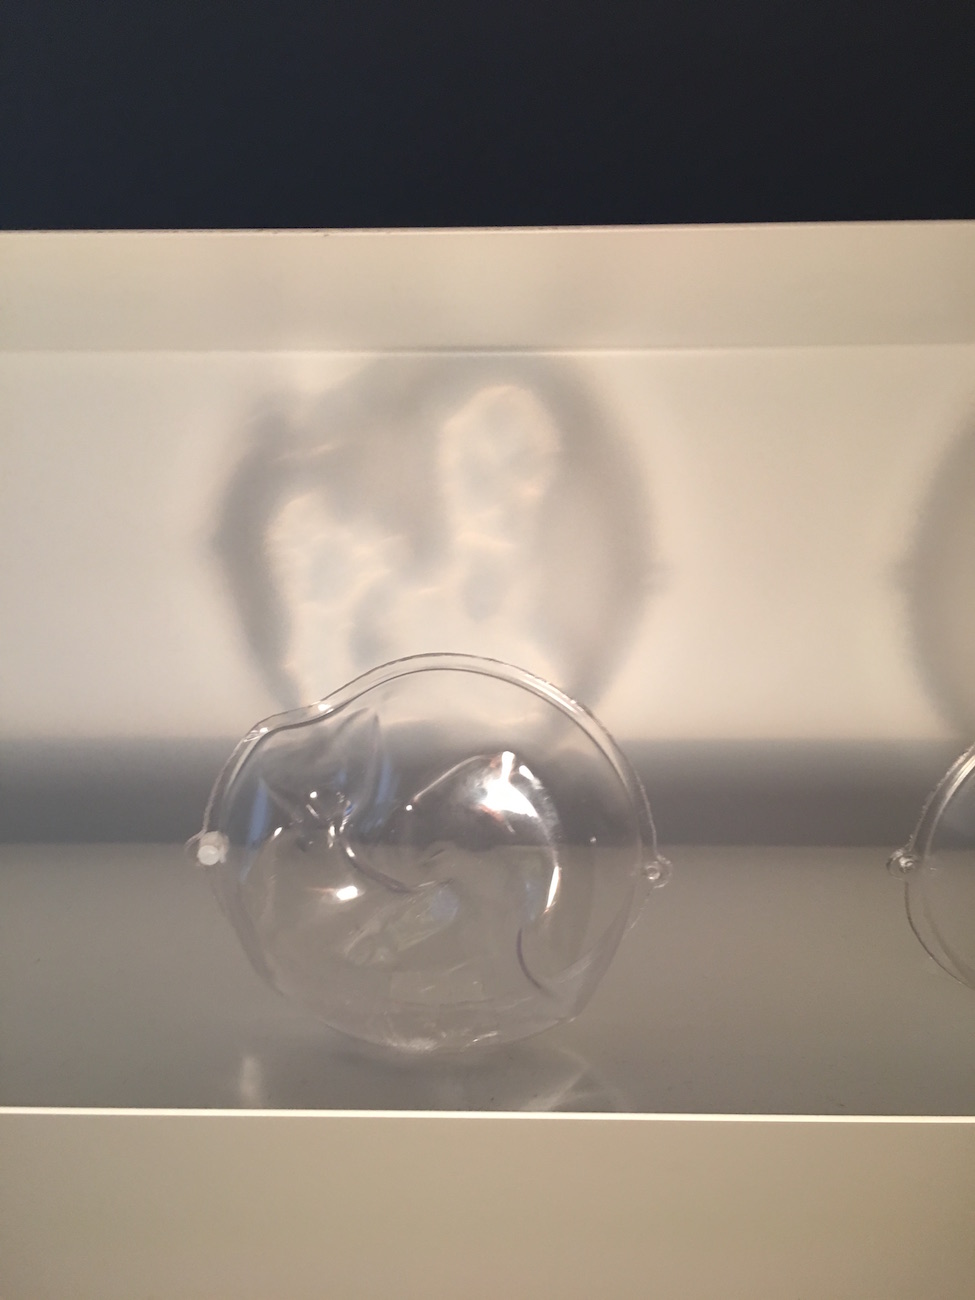
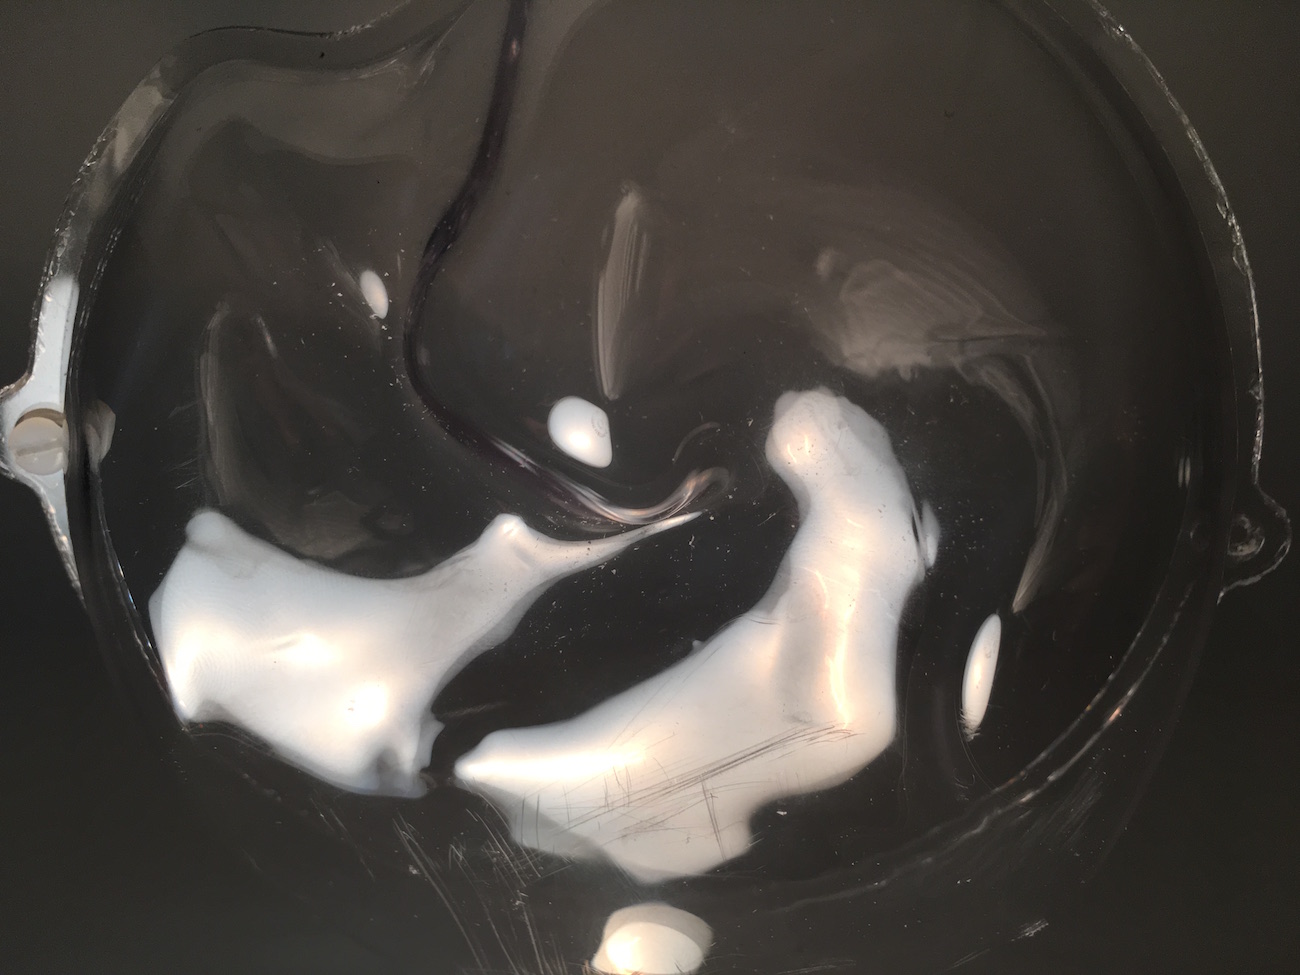
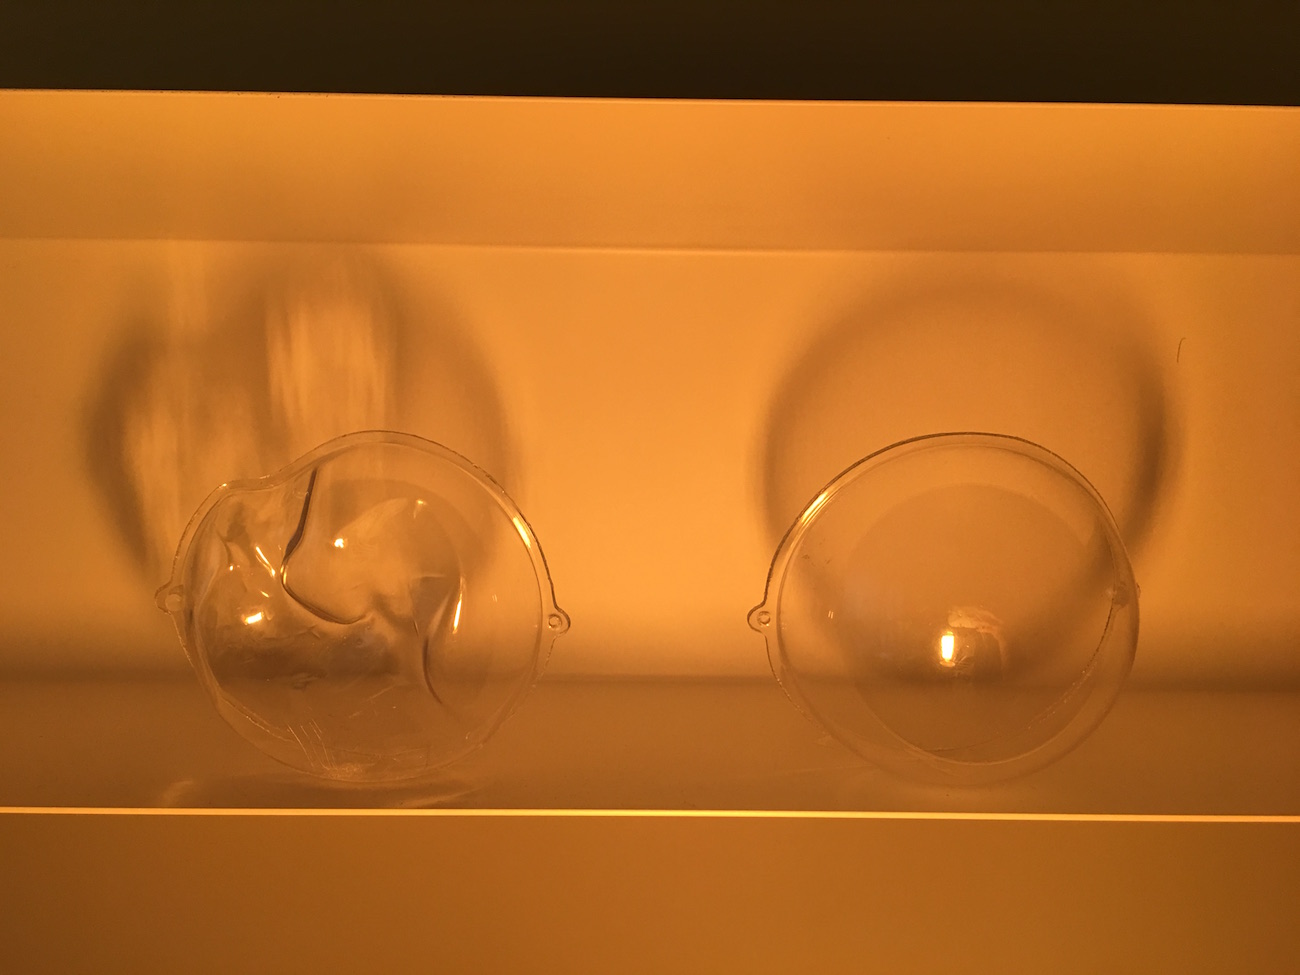
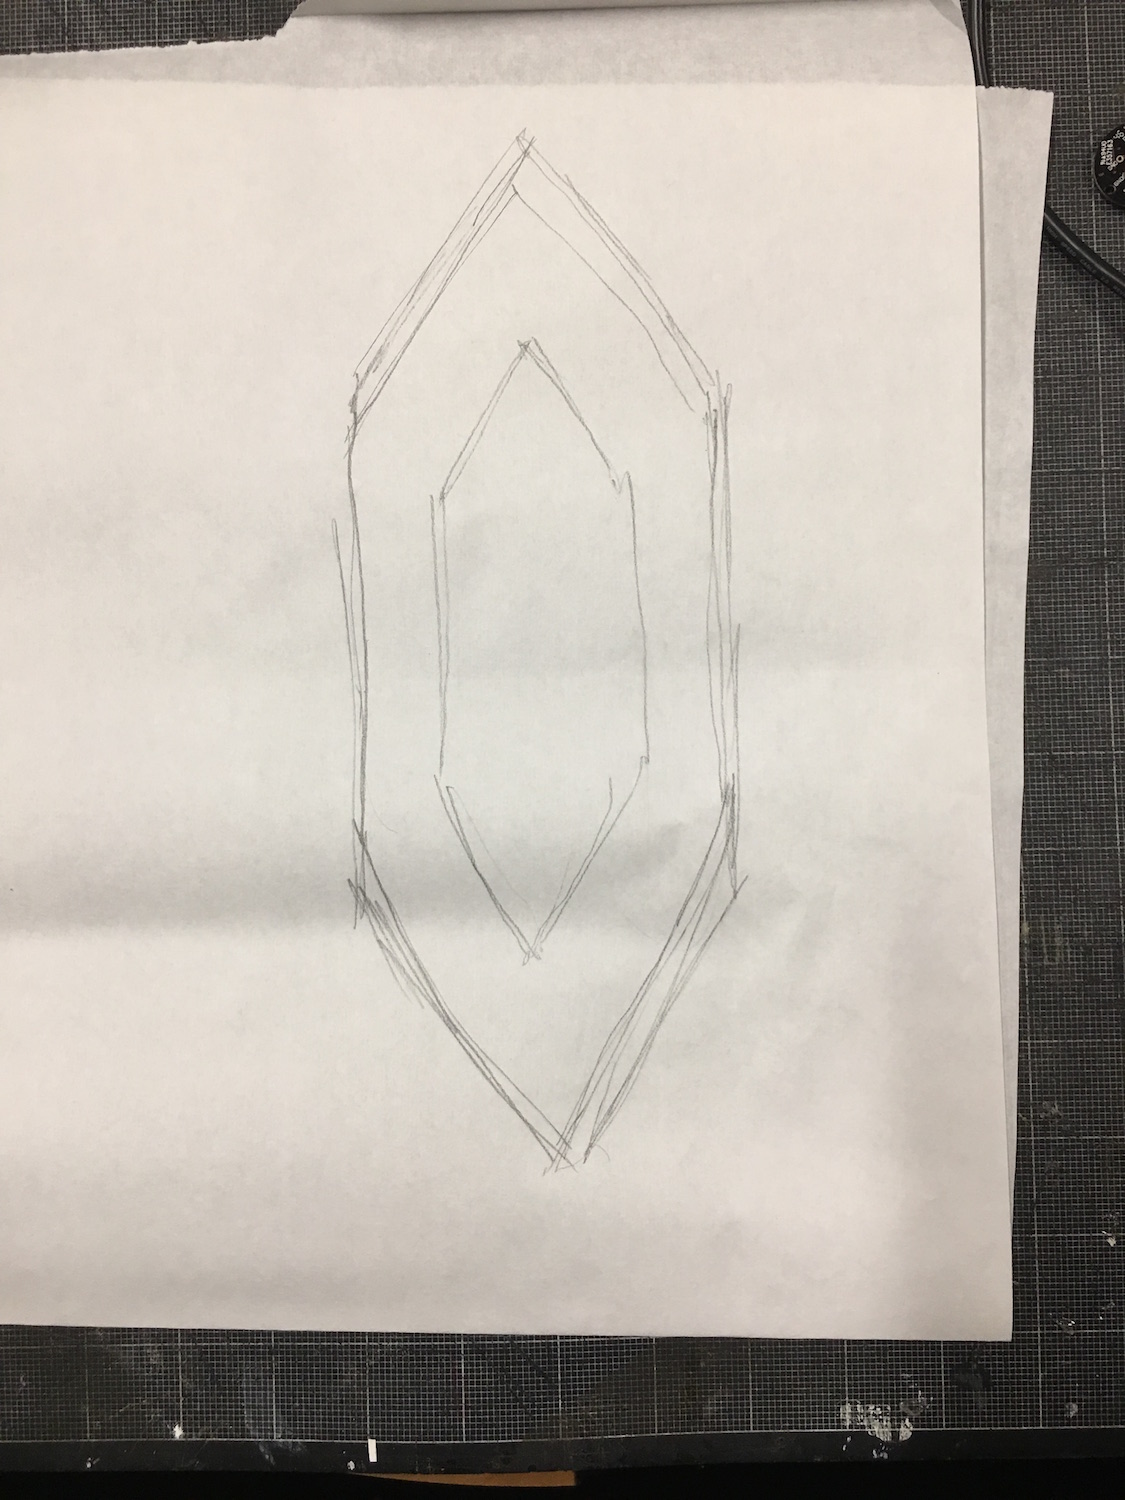
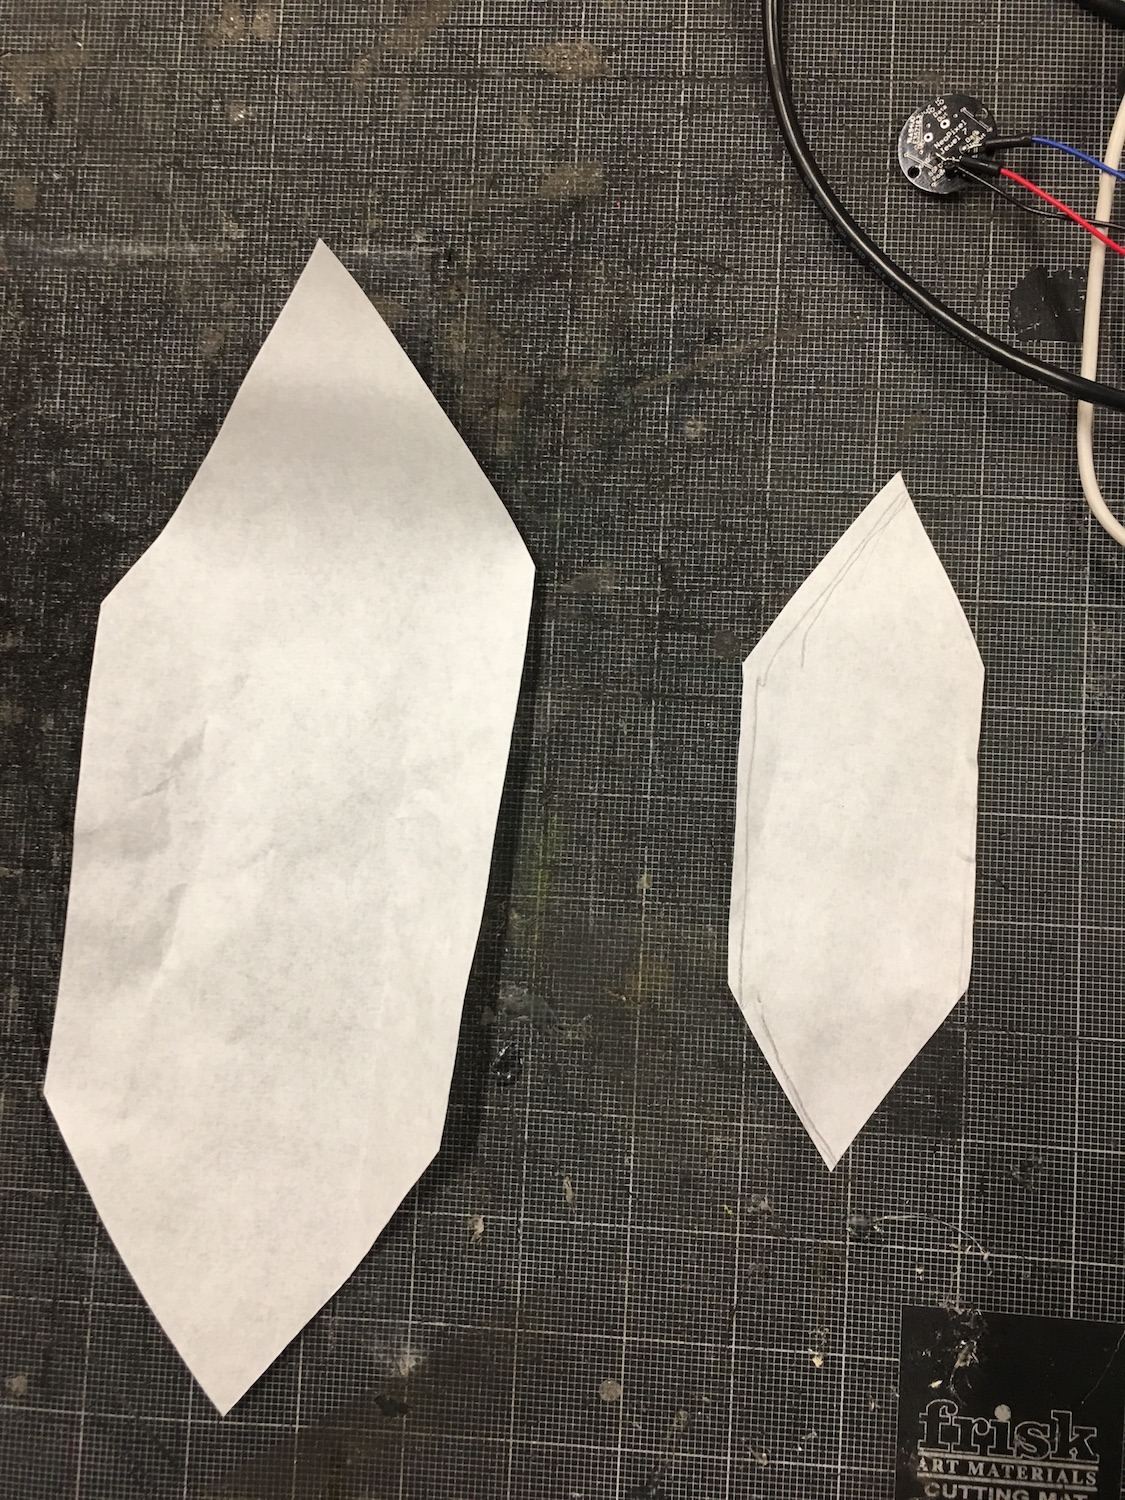
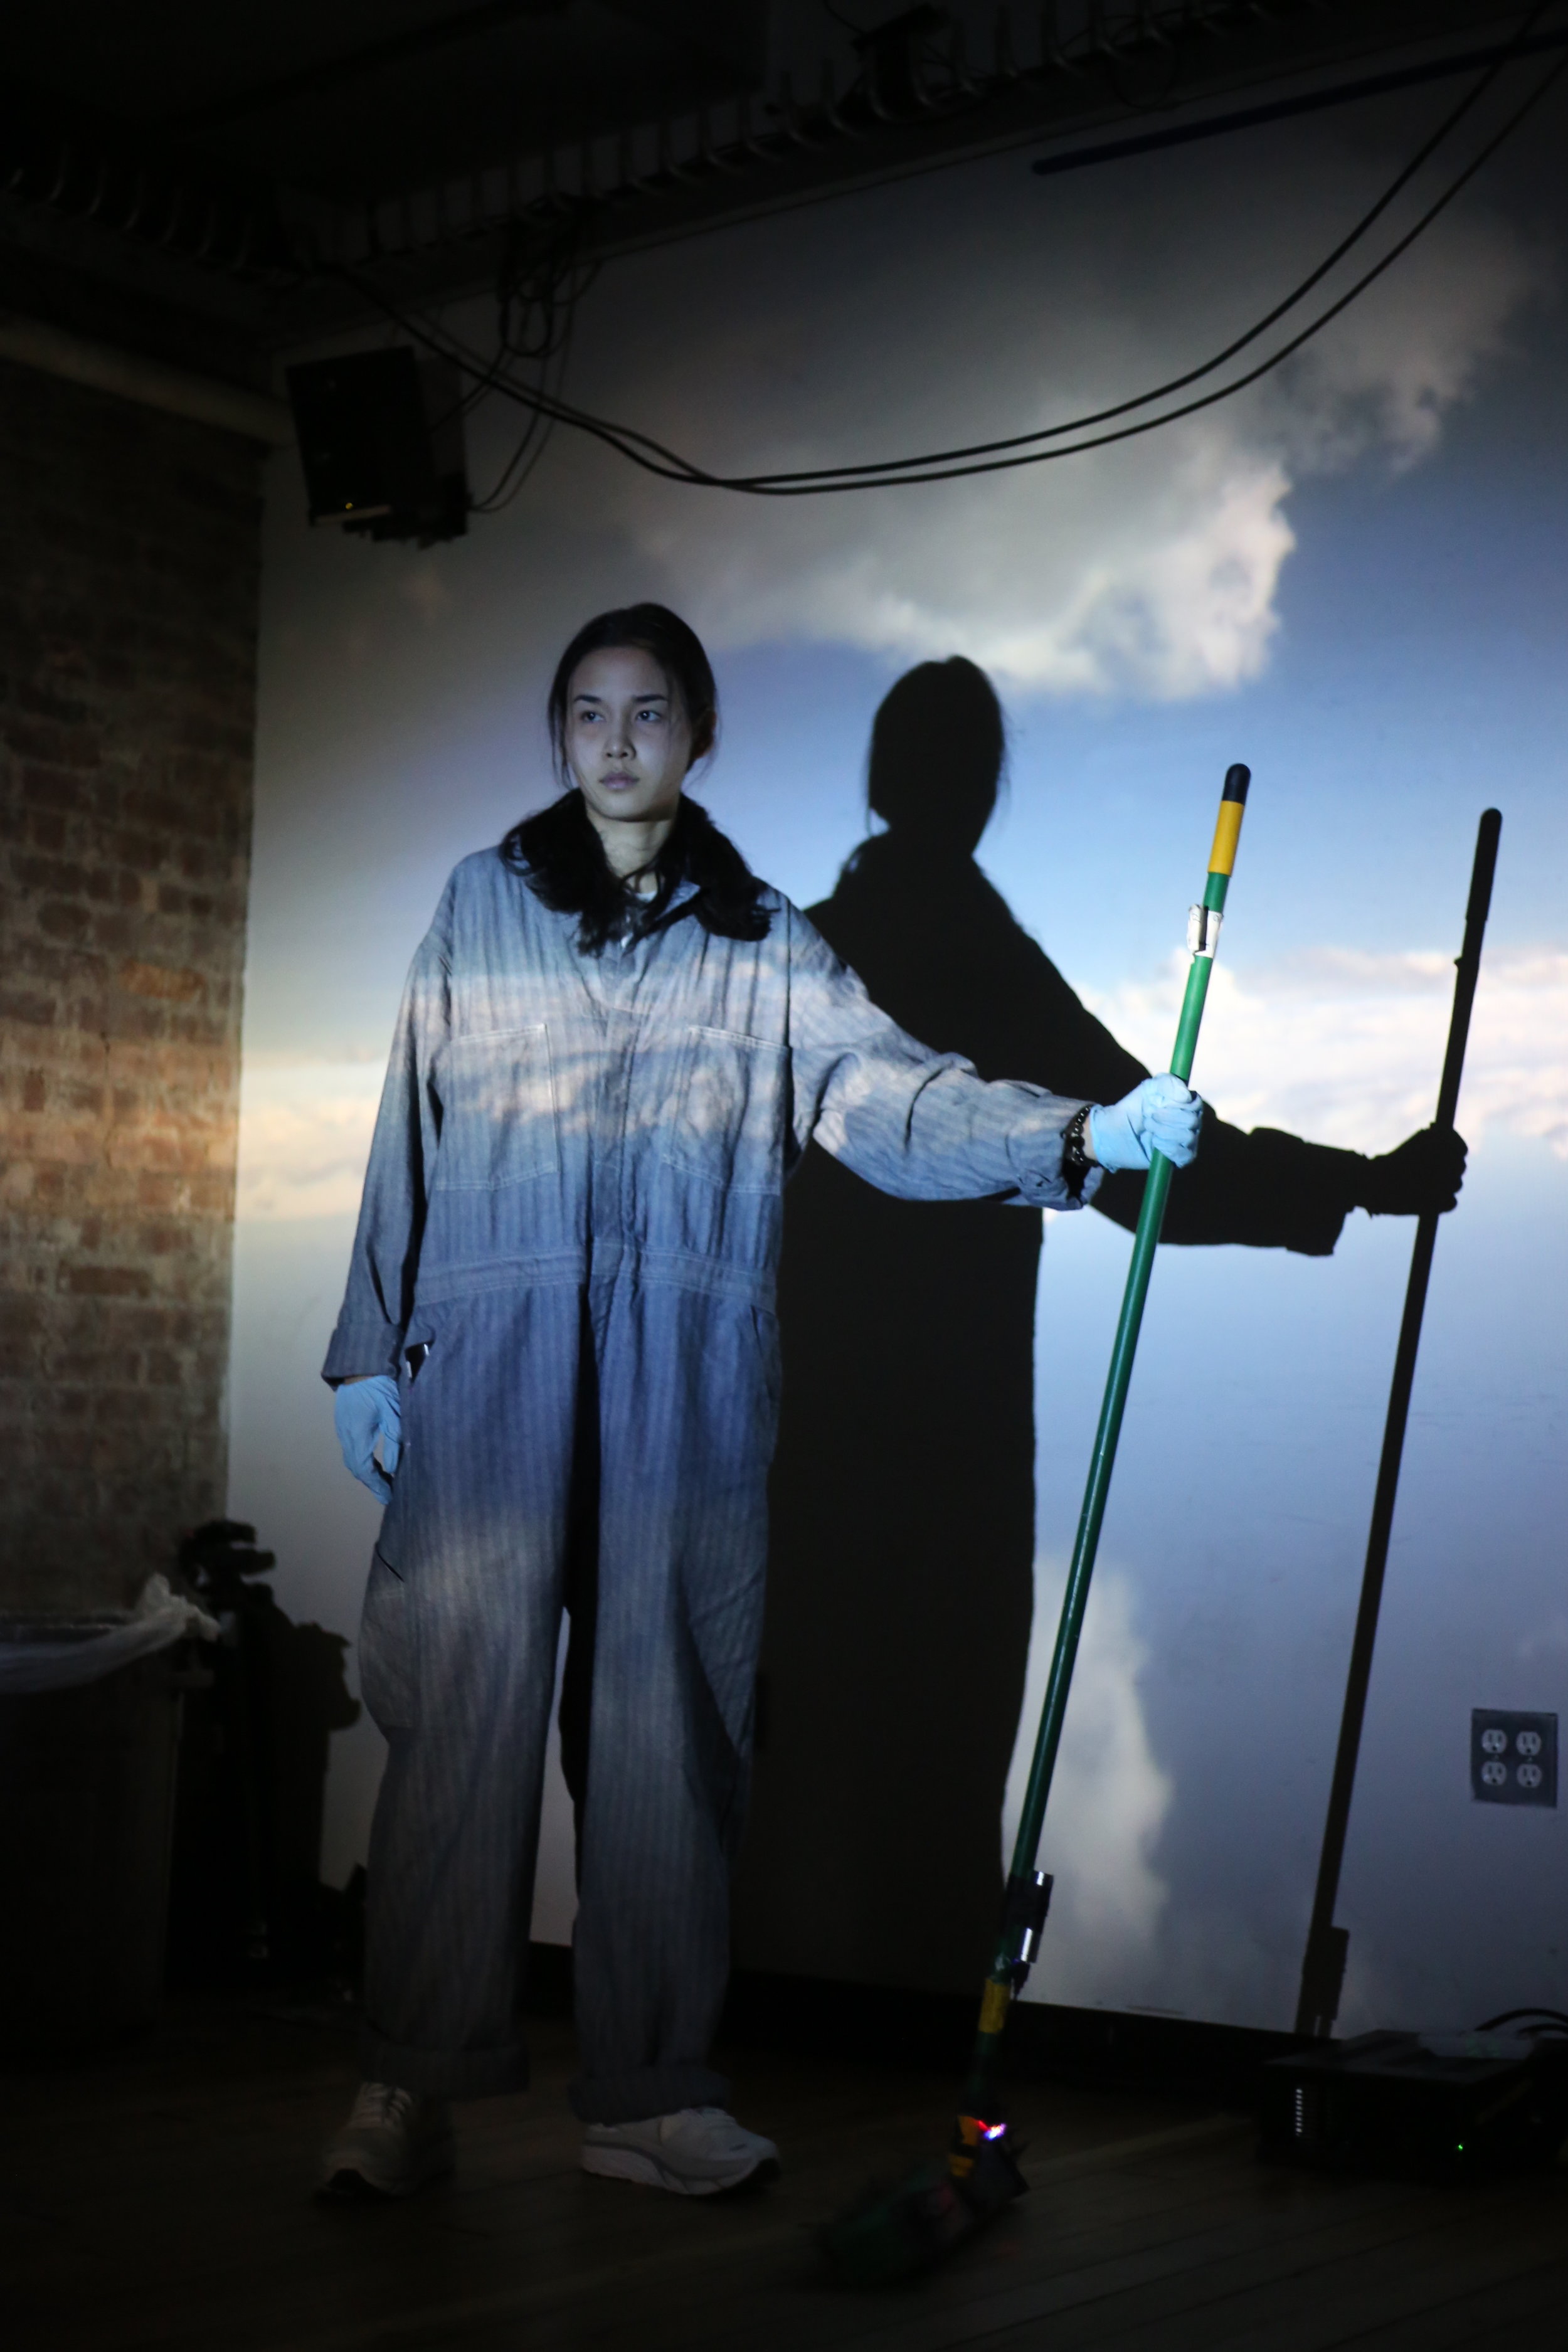
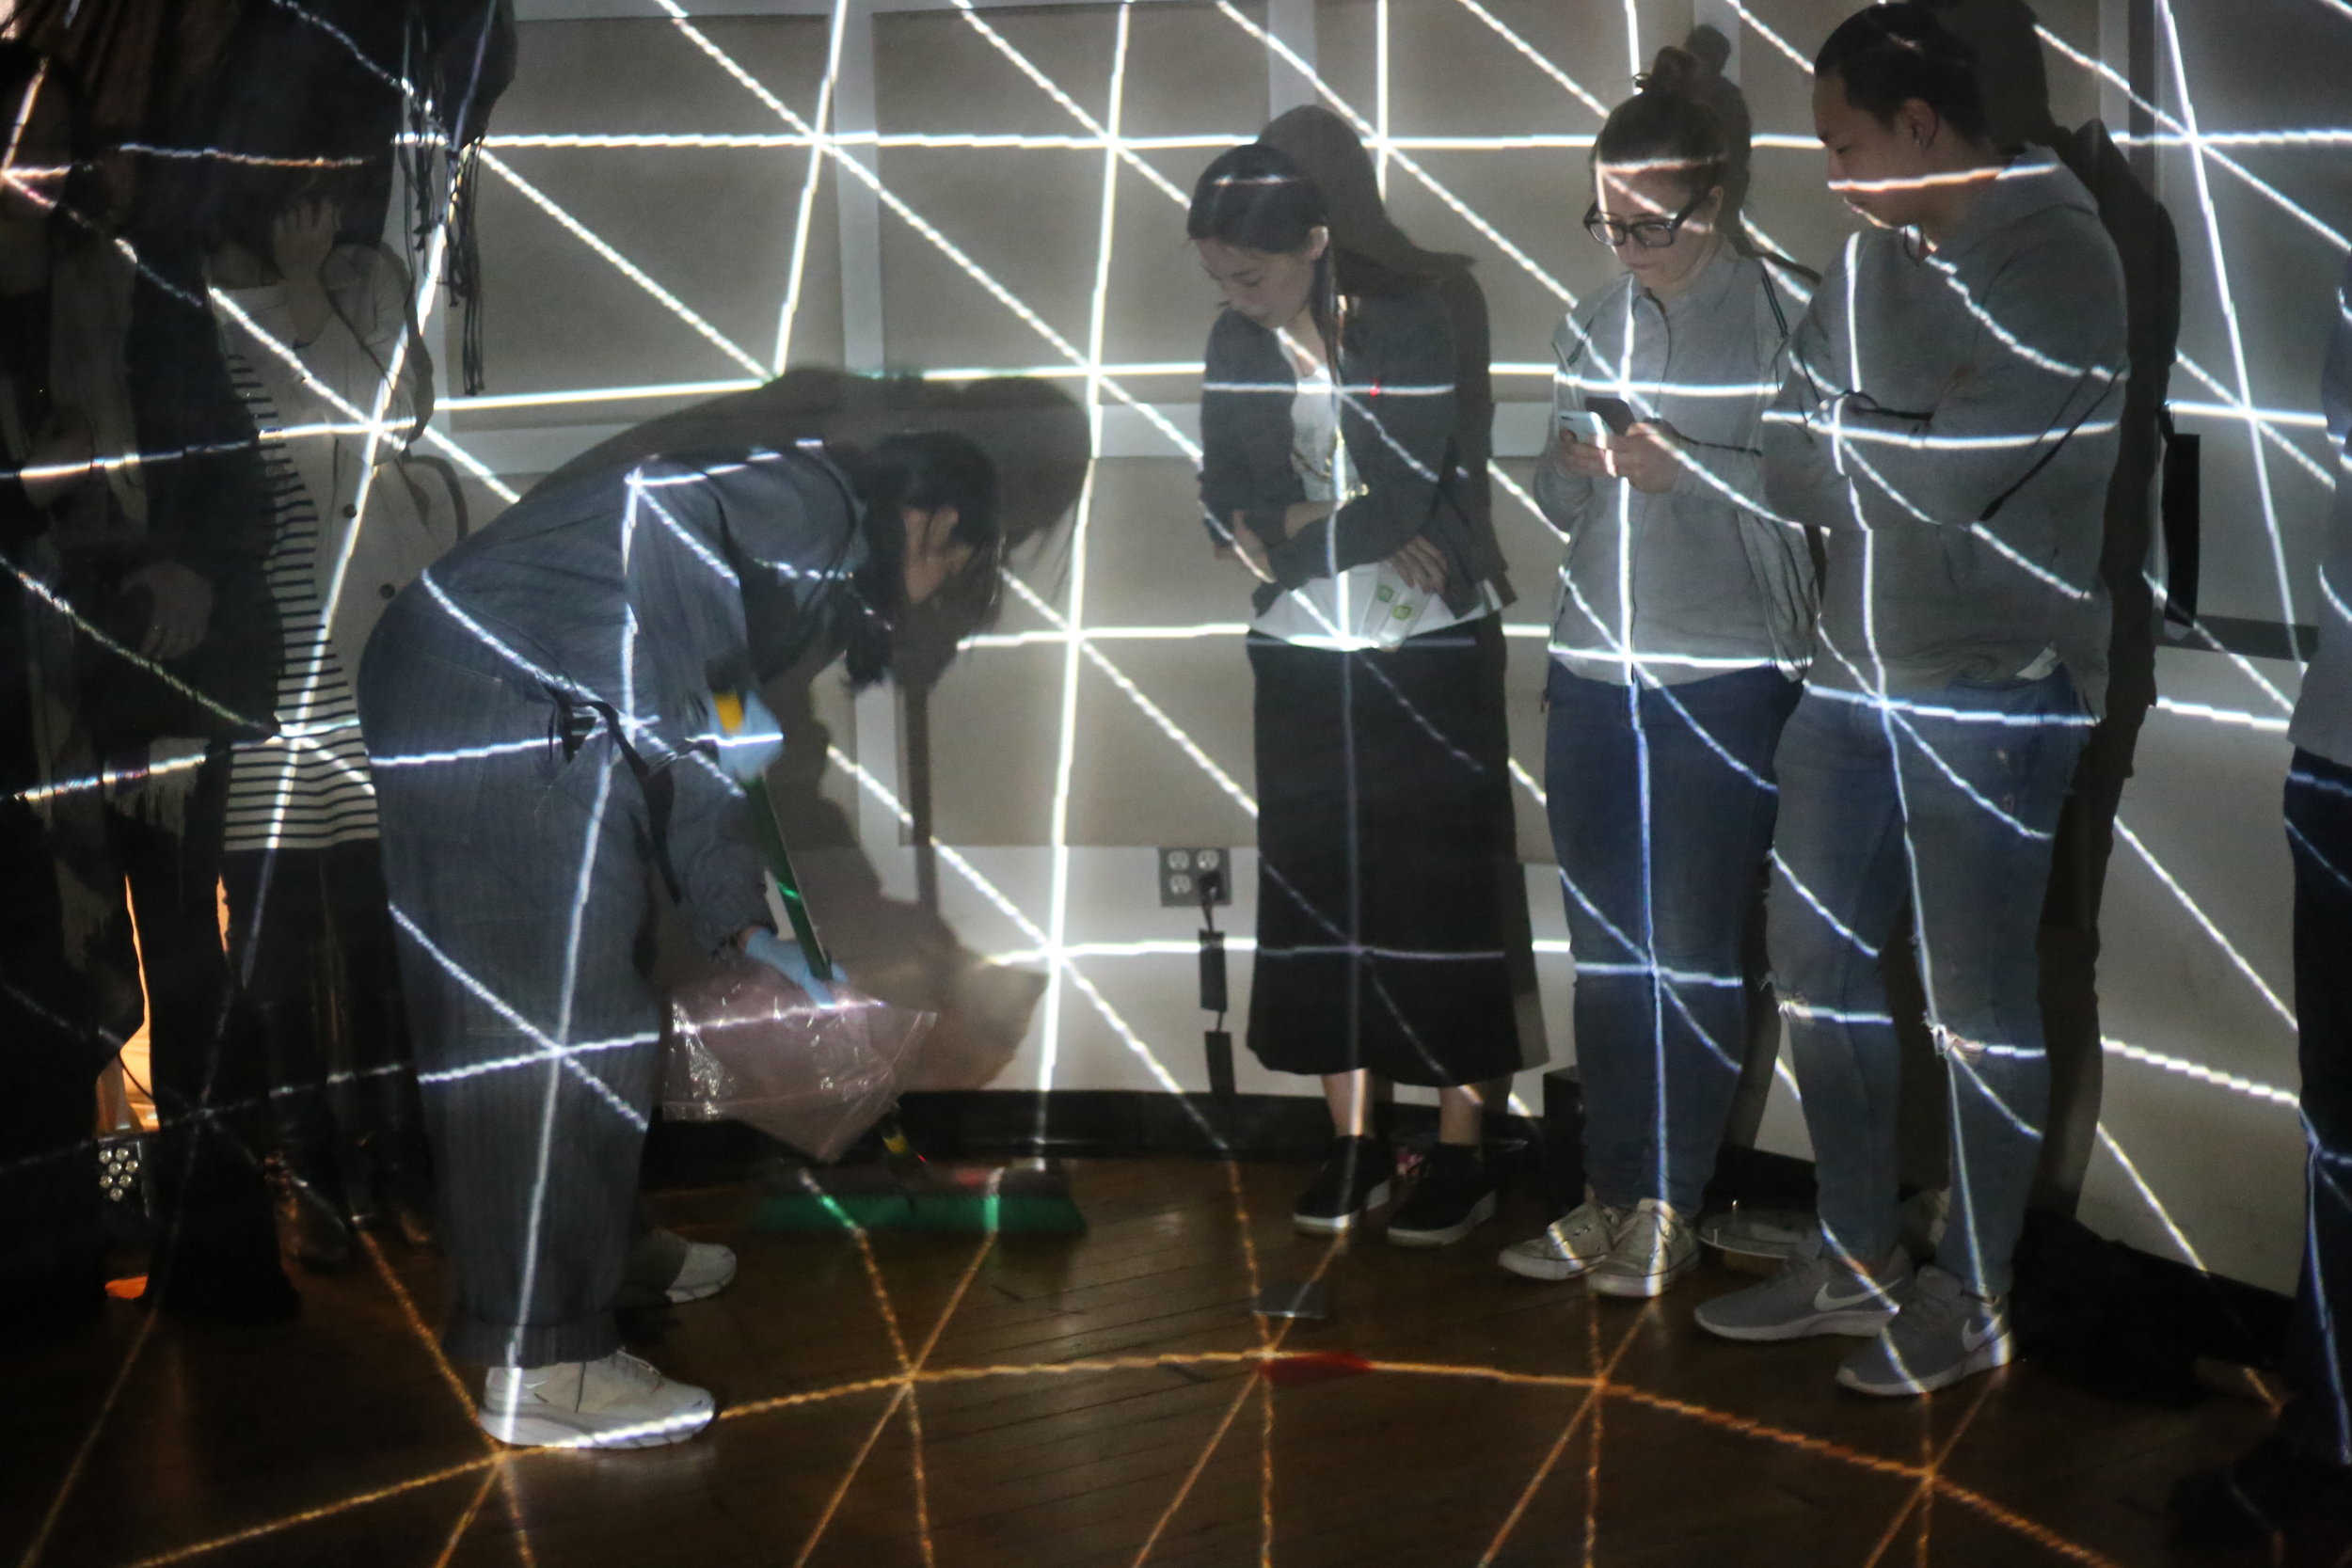
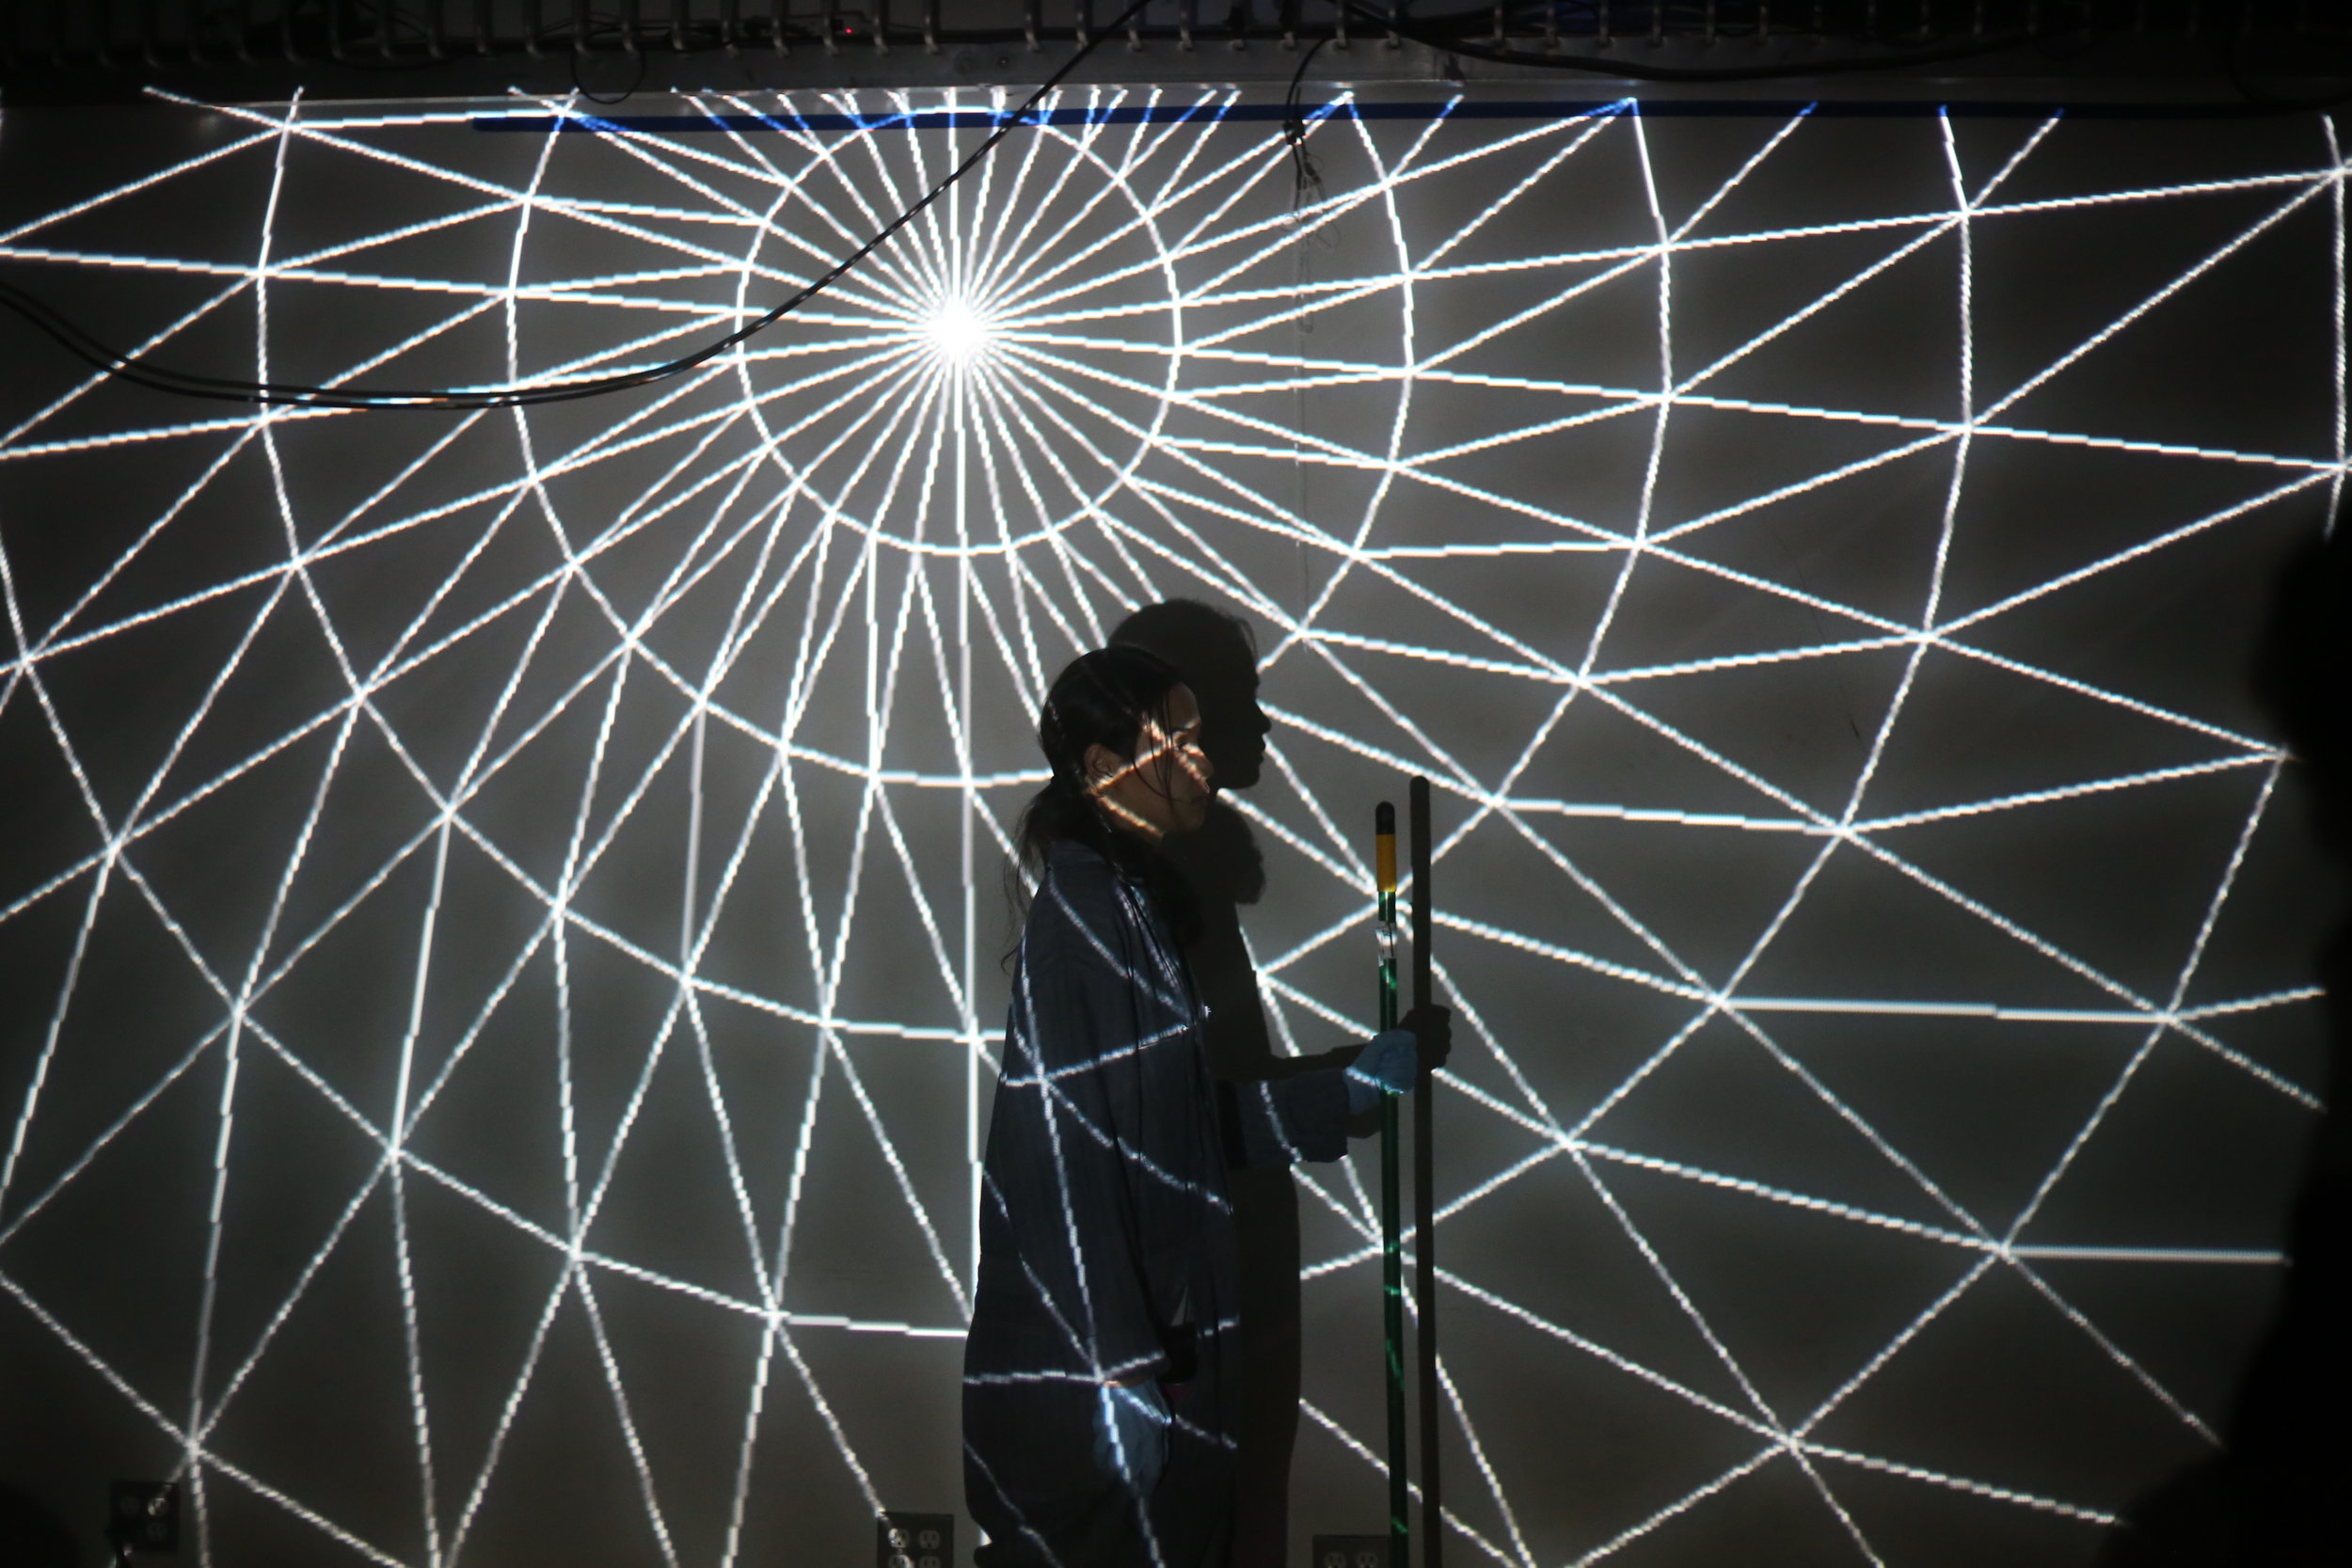
Scene 03 :: Light source #03 :: Projector

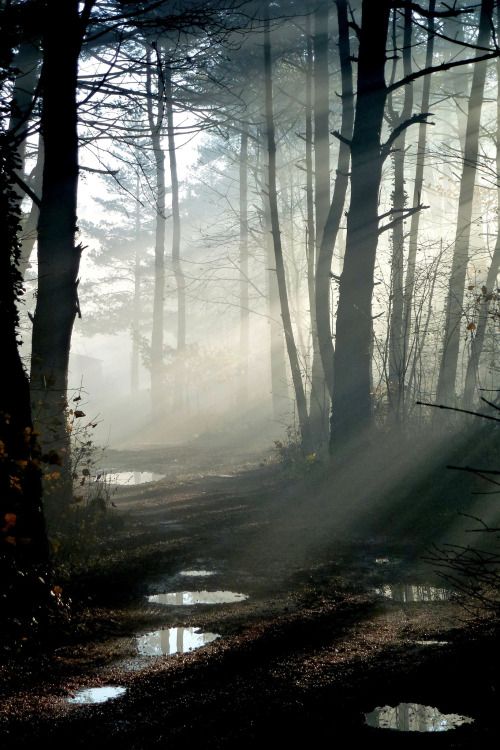
The last light source is from a projector, we hacked them to look like a spotlight by blurring the sharp edges of the projector. We also project a virtual reality as well.

The Magic Projector

Sebastian is a genius! because when I proposed this idea to Tiri and Sebastian, I had no clue how techicality will work but we want to achieve this effect and tricks of using the projector as  a spotlight projected on Tiri as though she is in the virtual. The projector is the main light source in this scene and the Philip hues are secondary. The hues are turned on at 5% brightness.

Check out Sebastian's blog on how he implemented 360 image environment with node.js + socket.io + three.js in detailed.

Source

Source 1, 2, 3


Light change scene 02 - 03

Below is a snippet of video showing how the light changes during the changing scene of scene 02 to scene 03


Scene 03 :: Light source #02 :: Colorblast  12 :: During the show

Nearly at the end of the show, where we have already entered into the virtual world, The lights are randomized and lit at 20 - 30%. Tiri's sweeping speed is faster than the previous scene so as the lighting. I really like how the LED on floor that they not only washed the floor but at the same time washed the audiences where they are standing in front of the LEDS. This gave interesting effects where the shadows of the audiences were created on the wall, and show glimpses/flashes of 20-30 more people than they actually are in the room as well as, when the audiences moved across the room while the lights are strobing randomized, the shadow effects look like they are moving like they have teleported from one point to another.  

Scene 03 :: Light source #02 :: Colorblast  12 :: Simulation


Scene 03 :: Max Patch Scene 02


Issues that we ran into

Issue #01 :: rehearse - rehearse - rehearse

  • I hope there were more time to run through our performance
  • There were classes and other activities occupying this room the whole week and weekend.
  • The show was on Monday and we did not get to do the set up until 9pm on Sunday and because our performance requires the entire room, to do the proper setup, we had to wait until the other classmates to finish their installations before us.


Issue #02 :: no where to hide

  • In a conventional stage, there would have been areas where they are hidden or hang up on the ceilings.


Setup :: Installation TImelapse


We've also made a tumblr blog where we post and host the performance's pictures. (on going)


The Cleaning Piece


Run Through Draft


DMX Wiring Diagram

At first I daisy chained the "DMX Loop Out" port just like in the DMX wiring diagram that's available online, which was completely wrong. I have to plug the DMX into "DMX Out Repeater".


Lighting Fixture + Equipments

Click on an image to go to the Google Doc's Link

Click on an image to go to the Google Doc's Link


Hue Lights

IMG_7561.JPG

Testing & Registering Philips Hues to the HUB.


Controlling Lights

QuickPlay Pro :: I found that QuickPlay Pro only see 3 of the LED ColorBlast 12, although I Daisy chained it together. At first, I though I made a mistake and had a problem with cables but I later change command on the left from "Fixture Configuration" to "Test Channels" and select all of the channels to turn. All 6 ColorBlast 12 turned on (but only discover 3 ColorBlast 12).

Q Light Controller Plus :: I made my own an on and off button of each LED Color Kinetics with fade-in and fade out presets  to operate during the show. I found this feature to be the easiest than other features available in the software. QLC+ Tutorial on Youtube by Massimo Callegari was very useful and straightforward.


Lighting Simulation for the LED ColorBlast 12.

The cable of the ColorBlast no. L2 was shorter than ColorBlast no. L1, so the location of the numbering is switched.


Spaghetthi DMX Recipe

This only just took me a few hours to untangle this unbelievable mess of cable.... to tape them all to all corners of the room.


Debugging the Qlc+ and quickPlay Pro

I have to post this instruction that you sent me via email, because it really helped me many times debugging the lighting console and software. Many times it is due to the ethernet address and subnet mask. The software sometimes forget this settings and I had to retyped them again. Other times, the ethernet cable was not properly plugged.


To make it work ::

* Connect to PDS-150e via ethernet

* DO NOT plug DMX into PDS-150e yet

* Change your wired ethernet address to 10.1.2.3

* Change your subnet mask to 255.0.0.0

* Power up the PDS-150e

* Open QuickPlay Pro

* File -> Preferences, choose “Network”

* Use the interface that starts with 10.1.2.3. Click OK

* Click Refresh Controller List button. PDS-150e will show up in list

* From there you can configure the lights and the system. I’ll explain in more detail when I see you.


Test Run with Lighting Scenes

IMG_7573.JPG

For this effect, we used the project to shine only light onto Tiri and blurred out sharp edges of the projectors to simulate the effect of spotlight.

This Lighting effect was inspired our concept from "Cleaning" and this Spotlight effect is like Tiri is cleaning in a virtual space. The spotlight acts like a VR google, looking into the digital world through physical objects and human.

Other configurations and sizes.


Movements Diagrams

We decided that there are going to be two major sweeping movements instead of just simply sweeping the ground randomly; vertically and horizontally.

On the first main movement, sweeping from the top to bottom of the room, I wanted the light to Tiri across the room. We both talked about this idea but I think after today's show we didn't execute it well. She sometimes would sweep before I turned the light on.


I'll update more on the performance documentations and projects description.


Lighting Fixture

Amber White Light

Looking at my lamp now and thinking back to my original concept of the moth flying close to the flame effect, I thought I had completely lost and given on that idea.

But looking at my lamp, I can sort of feel the continuity of flow and movement of the acrylic melting. Experimenting and manipulating the materials physical properties from itsown state from hard to liquid and have the power to pause on these properties fascinates me.

I know that I should not show the bare source of the light source since I’m using the clear light bulb too. But I thought that I could position the light bulb at the right location where there is alot of acylic creases melted to one place so there would be less glare. I was close though, but not close enough. I will change to the translucent light bulb and see how it looks


Will keep you updated.


Bills of Materials

L&I: Class 04 Assignment: Lighting Fixture [ Due Class 07 ]


Build a desk lamp, reading lamp, wall sconce or chandelier fixture. You may use any lighting technology as your source, but do not make the bare source visible. Add a shade or diffuser to your fixture. Consider the light that your fixture casts on its subject.


EXPERIMENT :: MATERIAL


EXPERIMENT LIGHT SOURCE & SHADOWS


L&I: Class 05


Location: ITP

Time | Date: 7.00 pm | Feb 26 - 7.00pm | Feb 27 2017


I chose to do this week assignment, 24 hr time-lapse at the same location I did last week (4 hr time-lapse) because I am certain that there is something interesting about the location since the ITP’s reception area where Dante and Anna work face the north. I planned to catch the sun rise! I did not catch this movement last time but I did this time!.

The composition of light started to get interesting about half way of the video when the sun rises. The sun looks like its gliding across the room nicely from right to left. The light is fairly strong as well.

There are some interesting lighting effects on the floor at around 3.15. I’ve never saw this effect before although I’m always on the floor. As the sun moves across the sky, I feel like I’m opening my curtain in my room in the morning. I see angle shadow casted on the building’s facade across the street and how the shadow changes its angles and maneuvered across the face of the building.

The sunshine starts to soften as we move into the evening and the shadows of the furniture in the room starts to get stronger and sharper in shape. For example, the bench. 

The movements and reflections of Daniel Rozin’s mirror installation was a nice touch in the scene, although, for some reason, I find the shadow underneath the round and rectangle table in front of his installation interesting because I can see variations of the tables shapes overlapped each other, blended into a new geometry but still remain a sense of its original shape

I did not realize how bright the purple light for the plant is until most of the light on the floor is off.

Day light is so short here during this time of year.


Example: Tom's Office


LAMP EXPERIMENTS

FIRST IDEA: Moths drawn, attract to lights

I've always wanted to simulate and make something like this.

Source

But at the same time, I DON'T want to create something this deliberate. I've only wanted the moth's flying behavior.

Source


moth3.jpg

I have been thinking all day yesterday of ways to hide the wires if I want to use 20 individual neopixel leds.....I couldn't come up with a solution.....or any solution that I can live with. There are just too many wires especially if I want to spread out the leds in my lamp and not have it in one place. So I decided to put a hold on this idea and do something else.


I got this acrylic sphere from canal plastics. Each half sphere cost around $2. I know that I wanted to experiment on the plastic physical properties especially when it is exposed to heat. How much of its form will change, bend, or even crack and break?

L: After Heat Gun         |          R: Before

Shadow Experiment
 

Close up of the deformed sphere
 

When I changed to use the vintage led bulb I noticed the shadows of the deformed acrylic sphere change direction from vertical to diagonal.


I really like how the acrylic changes shape and with little control on how the form it will deform. The only control I have is the hotness of the heat gun. So after the heat gun experiment, I think I'm gonna shift my idea back to the basics and play with the shades (acrylic tubes).

PHYSICAL CONTROL

I think I want my lamp to have 3 physical controls.

  1. On / Off
  2. Dimming, Capacitive touch
  3. Slow flickering from candle assignment. I don't know if I will have time to continue this one or not but I want to. Also, I can't use led bulbs if I want my lamp to be programable right? I have to use the neopixel?
     

L&I: Class 04


FIRST ATTEMPT

This is my first time ever doing the time-lapse this long [4 hrs]. I was using my own camera and did not expect my camera's battery ran out of battery during the 4 hrs time-lapse. I mean may be after the 5th or 6th hours. I started the time-lapse sequence at 9.30am and the battery died at pm. Nearly there though. 

Location: Bobst Library 10th Floor

Time: 9.30am - 

Date: 02/19/2017

Camera: Lumix GX8

Hmmm....I don't really see any major lighting changes in the room apart from the ceiling flickering a little bit. I would assume that theses small flickers are the result of clouds movements. Is it because where I was has a lot big windows therefore a lot of sunlight coming in, so the changes of the light coming in is too subtle to notice the changes? I was sitting on the 10th floor, overlooking the Washington Square Park. Although, I can't see the main changes of the quality of light through the video, when I was sitting there and doing my homework, lighting in the morning is much softer whereas as the time approached the afternoon, my eyes begin to feel uncomfortable due to stronger sunlight.


SECOND ATTEMPT

Location: First Floor Lounge ITP

Time: 12.30am - 16.30pm

Date: 02/21/2017

Camera: Canon 5D

I was hoping to see the light that falls on the tree changes more radically, but the effects didn't come out as I had hoped. I thought that I would capture the light rays that pierced through the tree leaves and make some shadows on the ground. I can see that at the top of the tree's leaves, there is glowy green like the leaves could might have translucent quality in them.

I was aiming for something like this. But then again, these photos might have been enhanced through photoshop. For my lamp design, I think I want to play with the positive and negative space light create with objects in front of it. The skyscrapers time-lapse I captured yesterday, also has this effects.


BONUS

In the spirit of making time-lapse video, I forced myself to wake up super early to catch this amazing sunrise over the skyscrapers.

Location: 605 W 42nd St, NYC

Time: 6.15am

Date: 02/21/2017

Camera: Iphone time-lapse mode

I really like how the color hue of the sky slowly changing color. Since the sunrise is in the background and the skyscrapers in the front, the sun act as big backlight for the city creating a captivating positive and negative space between high rises.


L&I: Class 02

Class 02  |  Assignment: Candle


CANDLES

Create an artificial candle using a NeoPixel jewel. Your candle should include a base and a shade or diffuser. Try to capture the colors and behavior of a real candle in programming your candle.

Candles Concept

So here is the concept of how I wanted my candles to light up. The idea was inspired by a fireplace, to create a believable fire-like lighting effects. I planned to pair up 3 pairs the Neopixels and 1 pixel without a pair. I The 3 pairs gradually fades from a spectrum of 2 colors and they will glow smoothly. The one pixel without a pair, will flickers randomly and faster than the rest.

Enclosure Design

In terms of the enclosure design, the inspiration came from traditional Thai food. The way how we used banana leaves to wrap food. I think I’m a bit homesick because this week is the seceond week in a row I am doing something related to Thailand.

Source: 1

Fabrication

Result

IMG_6672.JPG


Do you think my LED candle packaging look as yummy as the thai dessert photo above……

I have difficulties pairing the pixels and behave. I went to see Jingwen to help figure out the color and correct my confusing logic, but I'm still very confused.......

The think I fiddle way too much with the levels and intervals and lost the settings that I really like. The one in the video is still a bit too fast. I wish it can be smoother and see the overlap of colors more.

Code

/*
 * Lighting & Interactivity
 * Class 2 : LED_Candles
 * Feb 7 2017
 */

#include <Adafruit_NeoPixel.h>
#include "Interval.h"

Interval ledTimer0;
Interval ledTimer1;
Interval ledTimer2;


const int neoPixelPin = 5;      // control pin
const int numPixels = 7;        // number of pixels
int level = 100;                // the white LED color for the whole strip
float difference = 1;           // the fading difference in each loop
int brightness = 100;

// set up strip:
Adafruit_NeoPixel strip = Adafruit_NeoPixel(numPixels, neoPixelPin, NEO_GRBW + NEO_KHZ800);

void setup() {
  strip.begin();                // initialize pixel strip
  strip.clear();                // turn all LEDs off
  strip.setBrightness(brightness);
  pinMode(neoPixelPin, OUTPUT);
  Serial.begin(9600);

  ledTimer0.setInterval(fade0, 100);
  ledTimer1.setInterval(fade1, 5);
  ledTimer2.setInterval(fade2, 500);

  for (int pixel = 0; pixel < numPixels; pixel++) {
    strip.setPixelColor(pixel, 255, level, level, level);          // set the color for all the pixels
    strip.show();                                                  // refresh the strip
  }
}

void loop() {
  // loop pixels:
  ledTimer0.check();
  ledTimer1.check();
  ledTimer2.check();


  for (int pixel = 0; pixel < numPixels; pixel++) {
    strip.show();                                                 // check all the pixels
  }
}


//////////////  Set pair 1
void fade0() {

  for (int pixel = 0; pixel < 2; pixel++) {
    strip.setPixelColor(pixel, 255, 0, 0, level);
  }

  if ((level >= 255) || (level < 0)) {
    level++;
  }
  level = level - 10;
}


//////////////  Set pair 2
void fade1() {

  for (int pixel = 2; pixel < 4; pixel++) {
    strip.setPixelColor(pixel, 255, 0, 0, level);           // set the color for this pixel
  }

  if (level >= 255) {                                       // if level's at the top
    difference++;                                           // invert the difference value
  }
  level = level + difference;                               // add the difference to the level
}


//////////////  Set pair 3
void fade2() {

  for (int pixel = 4; pixel < 6; pixel++) {
    strip.setPixelColor(pixel, level + 255, level + 255, level + 255, level);     // set the color for this pixel
  }

  if (level < 0) {
    level += difference;
  }
  difference = -difference;                                  // add the difference to the level
}
 

TEST 01  |  TEST FROM EXAMPLE CODE  |  QUESTIONS + CONFUSED


Lighting Effects

My confusion with the example is with the GRBW and RGBW. Even when I switched and turned up the first value, the colors of the LEDS still don’t correspond. I asked Jingwen about this settings, she's also confused. But if I remember correctly, you mentioned in class that just switch the RGBW to GRBW.

NEO_RGBW
strip.setPixelColor(pixel, 255, 0, 0, level);


NEO_RGBW
strip.setPixelColor(pixel, 255, 0, 0, level);


NEO_GRBW
strip.setPixelColor(pixel, 255, 0, 0, level);


Code

/*
  RGBW NeoPixel fade control

  This sketch fades the white LED up and down
  on an RGBW neoPixel strip.

  In the setPixelColor command, the colors are ordered: red, green, blue, white.

  Uses Adafruit's NeoPixel library: https://github.com/adafruit/Adafruit_NeoPixel

  created 30 Jan 2017
  by Tom Igoe

*/
#include <Adafruit_NeoPixel.h>

const int neoPixelPin = 5;  // control pin
const int numPixels = 7;    // number of pixels
int level = 255;            // the white LED color for the whole strip
int difference = 1;         // the fading difference in each loop

// set up strip:
Adafruit_NeoPixel strip = Adafruit_NeoPixel(numPixels, neoPixelPin, NEO_RGBW + NEO_KHZ800);

void setup() {
  strip.begin();            // initialize pixel strip
  strip.clear();            // turn all LEDs off
  pinMode(0, OUTPUT);
  Serial.begin(9600);
}

void loop() {
  // loop over all the pixels:
  for (int pixel = 0; pixel < numPixels; pixel++) {
    strip.setPixelColor(pixel, 0, 0, 0, level);// set the color for this pixel
    strip.show();           // refresh the strip

    delay(500);
    if (level < 0) level = 255;
    level = level -20;
    Serial.print(pixel);
    Serial.print("\t");
    Serial.println(level);
  }
}


Location: 86 Wyckoff AVe, Brooklyn, Dekalb Station

Time: 8.23 am

Date: Friday 3, 2017

This is a photo I took when I was on my way to a 9am class the day after TNO! I gotta admit I’m not a morning person and don’t usually witness the morning ambient lighting. That day was a cloudy day, the clouds that cast over the sky looked metallic grey, softened glistening sunlights that pierced through the clouds. I tried to compose the sun in the middle of the photo as the focal point, as well as, setting the sun behind the lamp post so the picture looked as though it was lit by a light post.

The orange hued rays of sunrise felt warmth inviting me to stare into the horizon as I commute to the subway. I don’t know why but I feel like the amber gradients to blue colors is very attractive and wonders if theres any psychology behind how we perceive and feel colors. I also like how the clouds pattern is aligned to the perspective lines of the photo and with the buildings.


L&I: Class 01


First Class of Lighting & Interactivity, Tom asked us to do a simple interruptible fading light and I have got to confess that I am a bit rusty on my physical computing and took me a while to do what I was able to do last semester. I started off by looking at the Arduino example with blinking and fading light and combined these two together. One main thing that I made a mistake was that I used the digitalWrite() when I was supposed to use analogWrite() to get the fading effects.


CODE : 

// pwm fading led

int led = 9;
int brightness = 0;
int fadeAmount = 5;

void setup() {

  pinMode(led, OUTPUT);  
  
  // what's the difference if I change the OUTPUT to HIGH to LOW
  // resut is the same

}

void loop() {
  // set the brightness
  analogWrite(led, brightness);

  // change the brightness next time through loop
  brightness = brightness + fadeAmount;

  // reverse the direction of the fading at the ends of the fade
  if (brightness == 0 || brightness == 255) {
    fadeAmount = -fadeAmount;
  }

  // wait for 30 ms to see the effect
  delay(30);
}

Schematic :


Location: Urban Outfitters, NoHo, NYC

Time: 07.50 pm

Date: 27 Jan 2017

I was shopping with my friend and when I was about to pay and came across these lit candles decorated on the counter. The candle was lit in an amber glass jar that was place inside of another bigger jar, which I assume for both safety and decorations purposes.

The candle wax was already half way down the amber jar, which soften the direct hard light of the light source if it were brand new. The flames dance and flow as though they are hypnotizing me in a moment of warmth and comfort as I was waiting in line. I like how the candle was put inside of another bigger jar because at some point I can see when it the light hits the outer last layer the accumulated effects look like the flames were cut and moved slightly out of place but only for a moment.


Having come from Thailand where candle is deep-rooted in our daily lives, in particularly at temples and in many other celebrations. Candle lights reminds me of two main festivals in Thailand called "Loy Krathong" and "Yi Peng Lantern Festival". More information about the festival here and here. If you ever get a chance to travel to Thailand I really recommend you to go. They are really mesmorizing!

Source

Source: 1

  Source: 2 , 3


Yi Peng Lantern Festival

Source: 4


A Short History of Color Theory by Rune Madsen

Rune states,

Artistic color theory, which is concerned with the visual effects of color combination in the fine arts, and scientific color theory, which describes the nature of color through increasingly complex but precise color models. 

His notes on the color system: additive and subtractive colors that are all around us, into the devices that we used daily inspired me to research more on the subject matter. As Rune said, I think that if I can distinguish and understand how they are implemented, I can later on adapt this knowledge into my projects. I can't wait to read the next chapter. I looked into the book, Theory of Color by Johann Wolfgang von Goethe and the illustrations diagrams are very helpful. I know that you have mentioned that this class will not focus on the projection mapping but as I have mentioned to you in the office hour that I am also take a class on Magic Windows with Rui and I think this class is perfect for me to experiment on that subject matter and Rune's chapter on color theory really keep me thinking!


Source: Color Theory