The Cleaning Piece


Run Through Draft


DMX Wiring Diagram

At first I daisy chained the "DMX Loop Out" port just like in the DMX wiring diagram that's available online, which was completely wrong. I have to plug the DMX into "DMX Out Repeater".


Lighting Fixture + Equipments

Click on an image to go to the Google Doc's Link

Click on an image to go to the Google Doc's Link


Hue Lights

IMG_7561.JPG

Testing & Registering Philips Hues to the HUB.


Controlling Lights

QuickPlay Pro :: I found that QuickPlay Pro only see 3 of the LED ColorBlast 12, although I Daisy chained it together. At first, I though I made a mistake and had a problem with cables but I later change command on the left from "Fixture Configuration" to "Test Channels" and select all of the channels to turn. All 6 ColorBlast 12 turned on (but only discover 3 ColorBlast 12).

Q Light Controller Plus :: I made my own an on and off button of each LED Color Kinetics with fade-in and fade out presets  to operate during the show. I found this feature to be the easiest than other features available in the software. QLC+ Tutorial on Youtube by Massimo Callegari was very useful and straightforward.


Lighting Simulation for the LED ColorBlast 12.

The cable of the ColorBlast no. L2 was shorter than ColorBlast no. L1, so the location of the numbering is switched.


Spaghetthi DMX Recipe

This only just took me a few hours to untangle this unbelievable mess of cable.... to tape them all to all corners of the room.


Debugging the Qlc+ and quickPlay Pro

I have to post this instruction that you sent me via email, because it really helped me many times debugging the lighting console and software. Many times it is due to the ethernet address and subnet mask. The software sometimes forget this settings and I had to retyped them again. Other times, the ethernet cable was not properly plugged.


To make it work ::

* Connect to PDS-150e via ethernet

* DO NOT plug DMX into PDS-150e yet

* Change your wired ethernet address to 10.1.2.3

* Change your subnet mask to 255.0.0.0

* Power up the PDS-150e

* Open QuickPlay Pro

* File -> Preferences, choose “Network”

* Use the interface that starts with 10.1.2.3. Click OK

* Click Refresh Controller List button. PDS-150e will show up in list

* From there you can configure the lights and the system. I’ll explain in more detail when I see you.


Test Run with Lighting Scenes

IMG_7573.JPG

For this effect, we used the project to shine only light onto Tiri and blurred out sharp edges of the projectors to simulate the effect of spotlight.

This Lighting effect was inspired our concept from "Cleaning" and this Spotlight effect is like Tiri is cleaning in a virtual space. The spotlight acts like a VR google, looking into the digital world through physical objects and human.

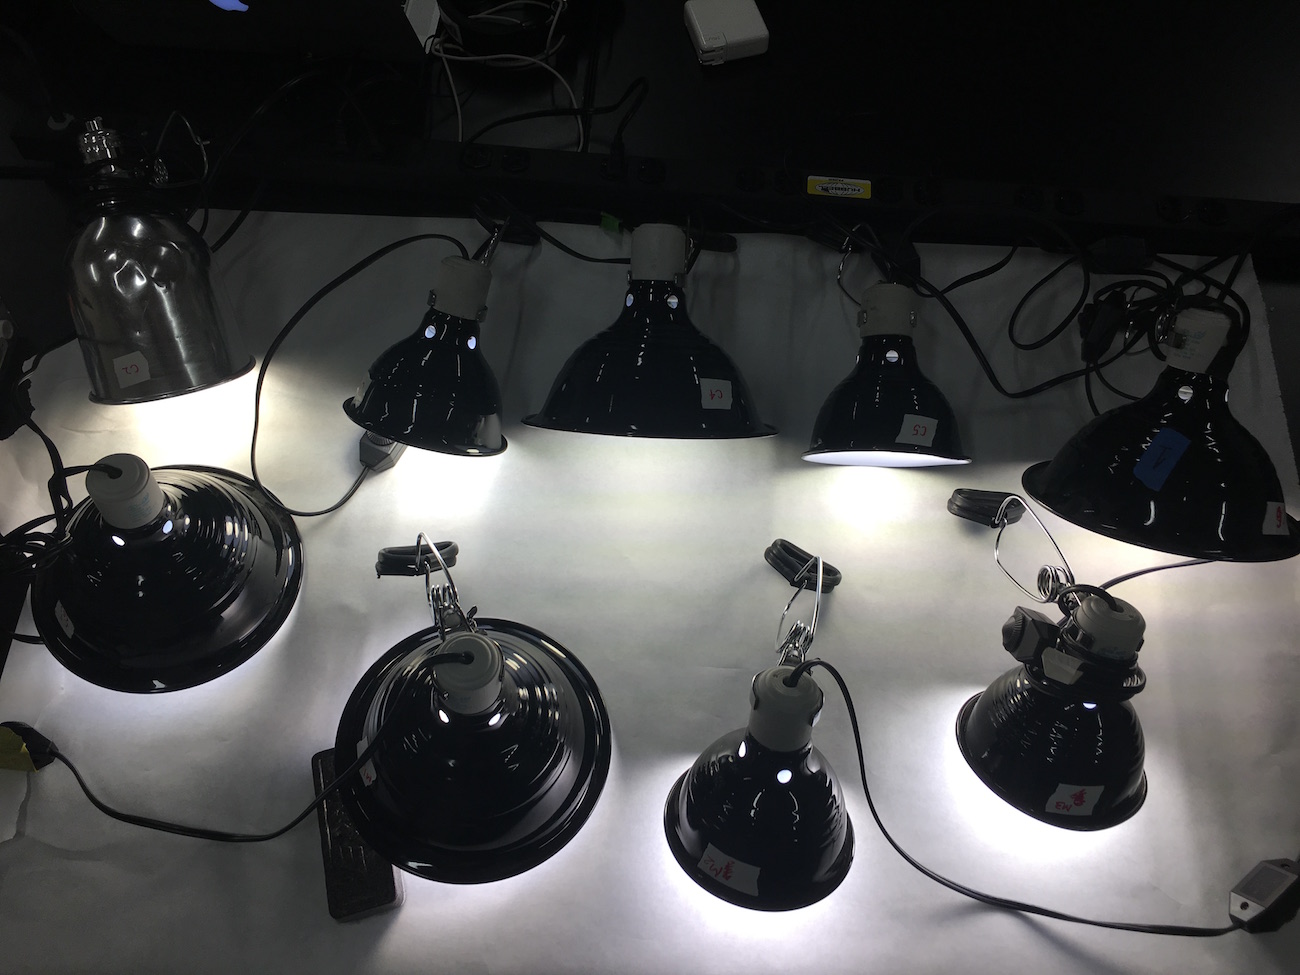
Other configurations and sizes.


Movements Diagrams

We decided that there are going to be two major sweeping movements instead of just simply sweeping the ground randomly; vertically and horizontally.

On the first main movement, sweeping from the top to bottom of the room, I wanted the light to Tiri across the room. We both talked about this idea but I think after today's show we didn't execute it well. She sometimes would sweep before I turned the light on.


I'll update more on the performance documentations and projects description.


Lighting Fixture

Amber White Light

Looking at my lamp now and thinking back to my original concept of the moth flying close to the flame effect, I thought I had completely lost and given on that idea.

But looking at my lamp, I can sort of feel the continuity of flow and movement of the acrylic melting. Experimenting and manipulating the materials physical properties from itsown state from hard to liquid and have the power to pause on these properties fascinates me.

I know that I should not show the bare source of the light source since I’m using the clear light bulb too. But I thought that I could position the light bulb at the right location where there is alot of acylic creases melted to one place so there would be less glare. I was close though, but not close enough. I will change to the translucent light bulb and see how it looks


Will keep you updated.


Bills of Materials

L&I: Class 04 Assignment: Lighting Fixture [ Due Class 07 ]


Build a desk lamp, reading lamp, wall sconce or chandelier fixture. You may use any lighting technology as your source, but do not make the bare source visible. Add a shade or diffuser to your fixture. Consider the light that your fixture casts on its subject.


EXPERIMENT :: MATERIAL


EXPERIMENT LIGHT SOURCE & SHADOWS


L&I: Class 04


FIRST ATTEMPT

This is my first time ever doing the time-lapse this long [4 hrs]. I was using my own camera and did not expect my camera's battery ran out of battery during the 4 hrs time-lapse. I mean may be after the 5th or 6th hours. I started the time-lapse sequence at 9.30am and the battery died at pm. Nearly there though. 

Location: Bobst Library 10th Floor

Time: 9.30am - 

Date: 02/19/2017

Camera: Lumix GX8

Hmmm....I don't really see any major lighting changes in the room apart from the ceiling flickering a little bit. I would assume that theses small flickers are the result of clouds movements. Is it because where I was has a lot big windows therefore a lot of sunlight coming in, so the changes of the light coming in is too subtle to notice the changes? I was sitting on the 10th floor, overlooking the Washington Square Park. Although, I can't see the main changes of the quality of light through the video, when I was sitting there and doing my homework, lighting in the morning is much softer whereas as the time approached the afternoon, my eyes begin to feel uncomfortable due to stronger sunlight.


SECOND ATTEMPT

Location: First Floor Lounge ITP

Time: 12.30am - 16.30pm

Date: 02/21/2017

Camera: Canon 5D

I was hoping to see the light that falls on the tree changes more radically, but the effects didn't come out as I had hoped. I thought that I would capture the light rays that pierced through the tree leaves and make some shadows on the ground. I can see that at the top of the tree's leaves, there is glowy green like the leaves could might have translucent quality in them.

I was aiming for something like this. But then again, these photos might have been enhanced through photoshop. For my lamp design, I think I want to play with the positive and negative space light create with objects in front of it. The skyscrapers time-lapse I captured yesterday, also has this effects.


BONUS

In the spirit of making time-lapse video, I forced myself to wake up super early to catch this amazing sunrise over the skyscrapers.

Location: 605 W 42nd St, NYC

Time: 6.15am

Date: 02/21/2017

Camera: Iphone time-lapse mode

I really like how the color hue of the sky slowly changing color. Since the sunrise is in the background and the skyscrapers in the front, the sun act as big backlight for the city creating a captivating positive and negative space between high rises.